
Last updated September 20, 2026
Free on-site gate assessment - hinges, posts, and your LiftMaster or Nice gate operator checked before anything is quoted
The assessment is free and the quote is the invoice.

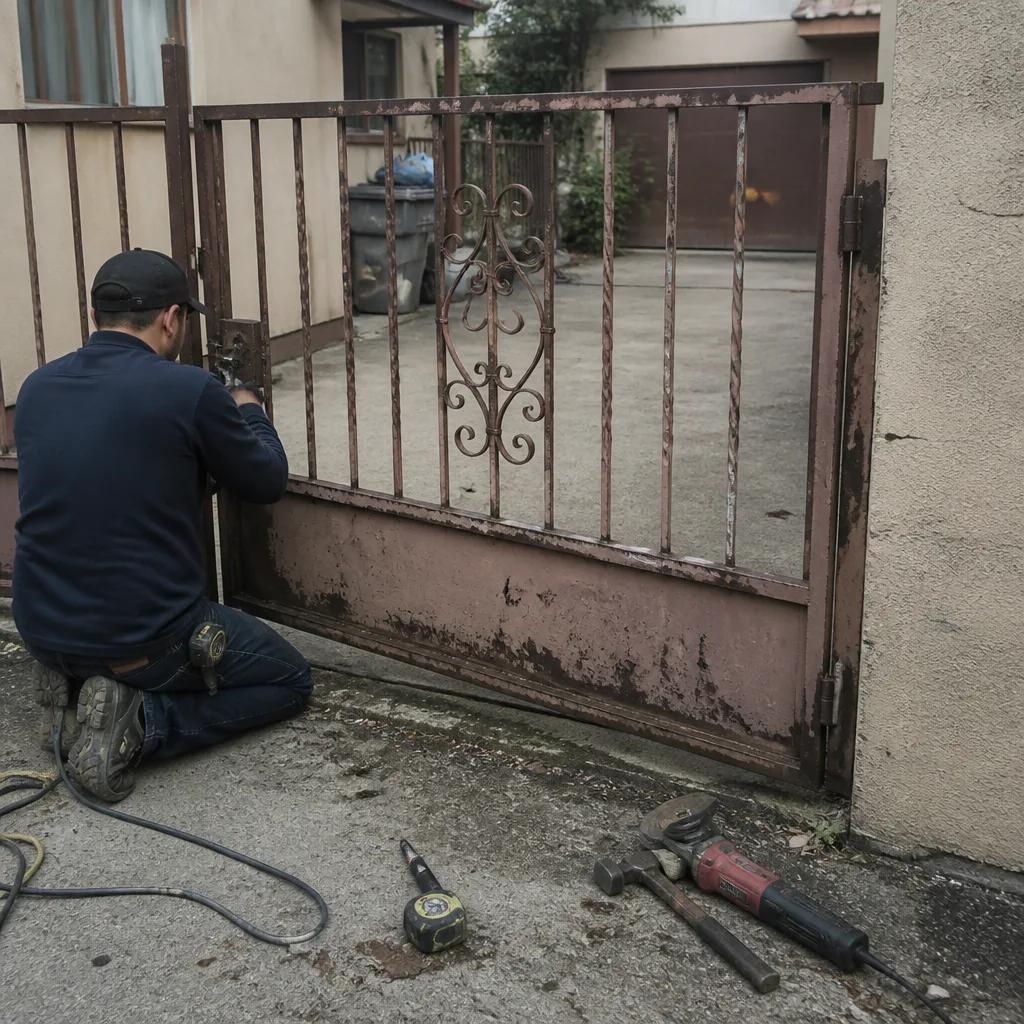 Before
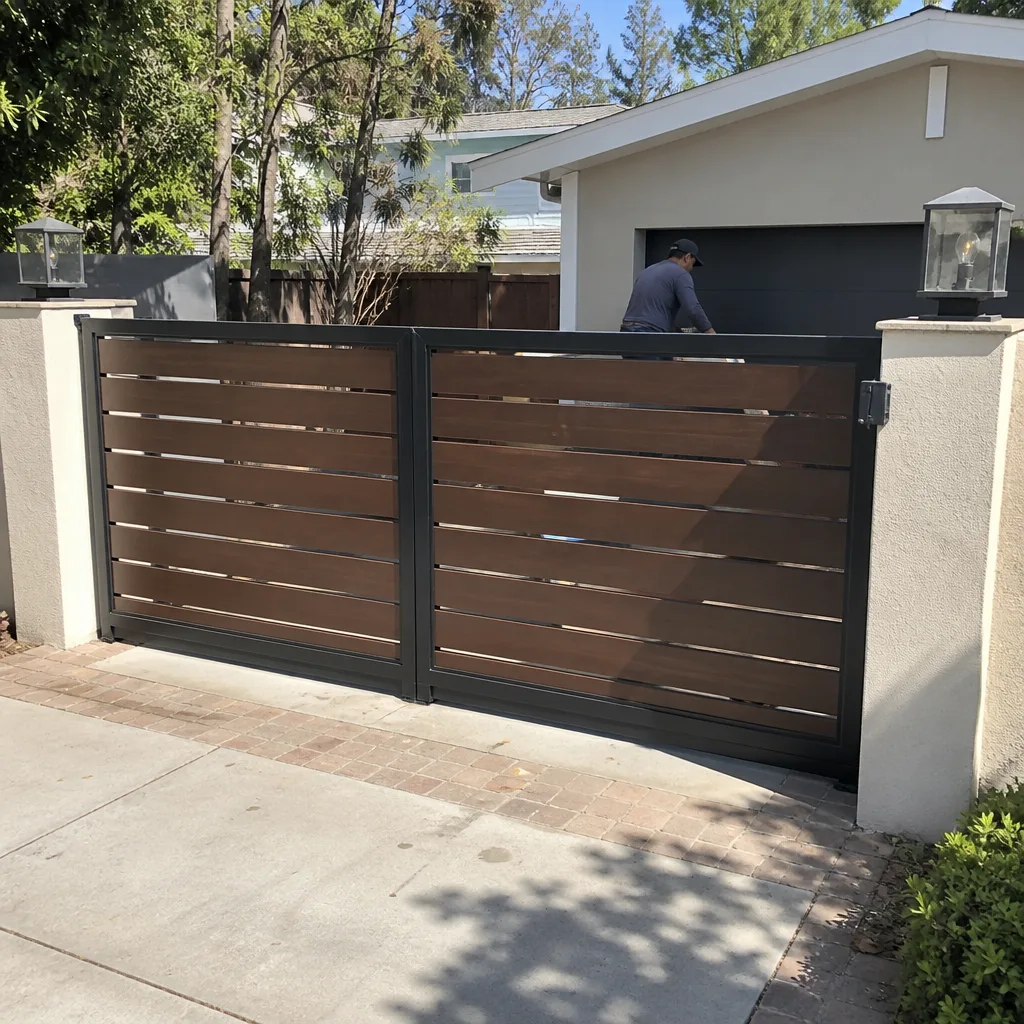 After
After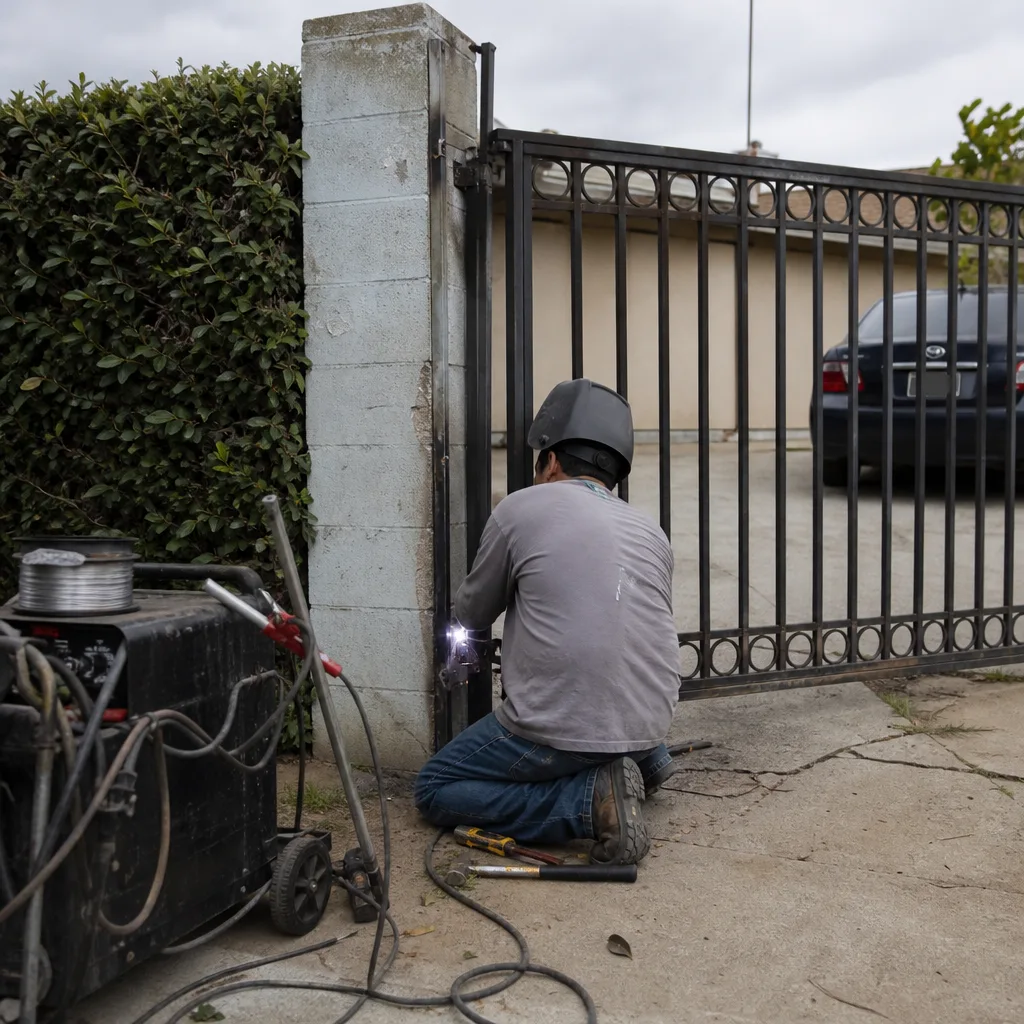 Before
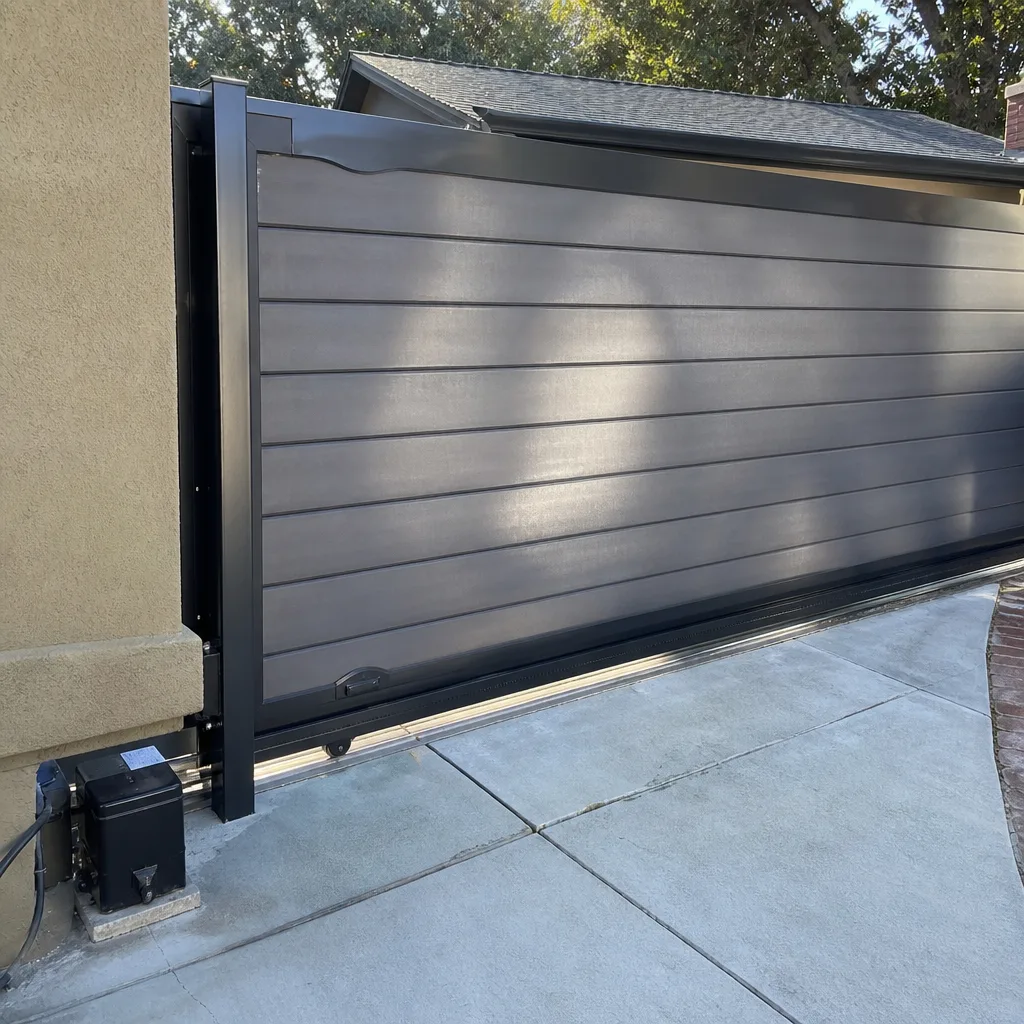 After
After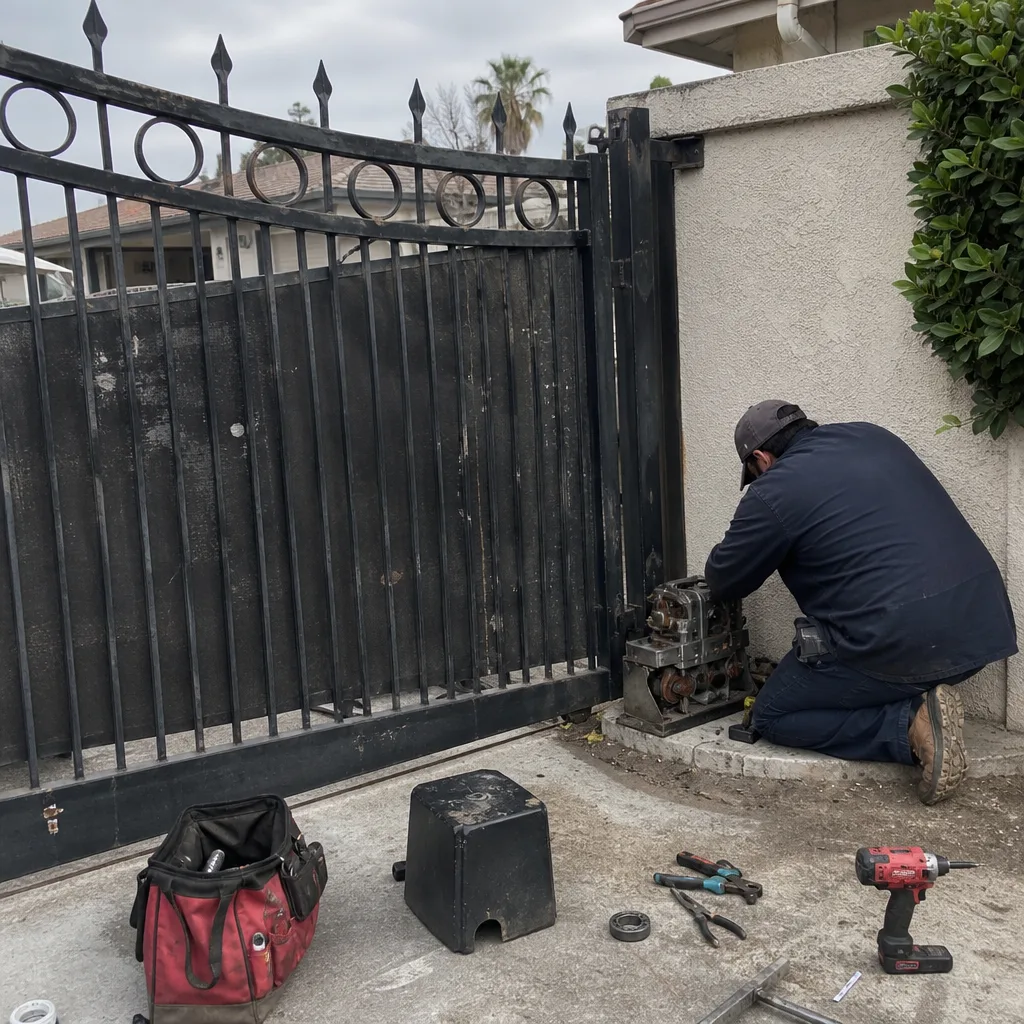 Before
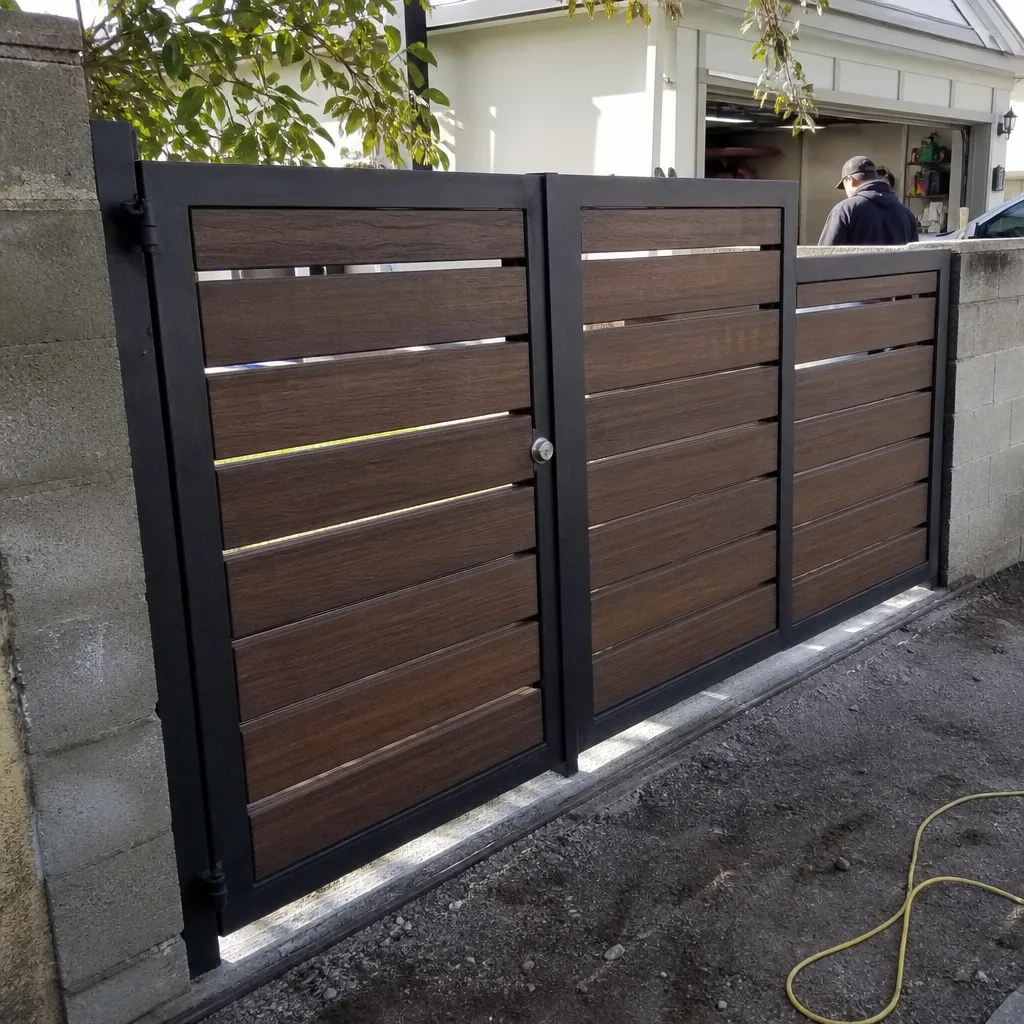 After
AfterGate Repair Maintenance Checklist for Burbank Homeowners
Most gate maintenance checklists tell you to “lubricate the chain.” They don’t tell you that a chain with more than 3% elongation will strip the drive sprocket within 60 days regardless of how much lubricant you apply. That’s the difference between a checklist that prevents failures and a checklist that just makes you feel responsible. This guide gives Burbank homeowners the actual measurements, observable conditions, and pass/fail thresholds that separate normal wear from an impending gate failure. If you own a driveway gate in Burbank, you’ll learn what to check, what the numbers mean, and when to pick up the phone before a $60 adjustment becomes a $1,800 motor replacement.
Quick Answer
A useful Burbank gate maintenance checklist measures specific thresholds: chain elongation under 3%, hinge play under 2mm of lateral movement, battery float voltage between 13.2V and 13.8V, and photo-eye alignment within a 1-inch visual tolerance at 20 feet. Homeowners can safely perform lubrication, visual inspection, and photo logging every 90 days; anything involving limit switches, capacitor discharge, or hydraulic fluid requires a licensed technician under California electrical code.
Table of Contents
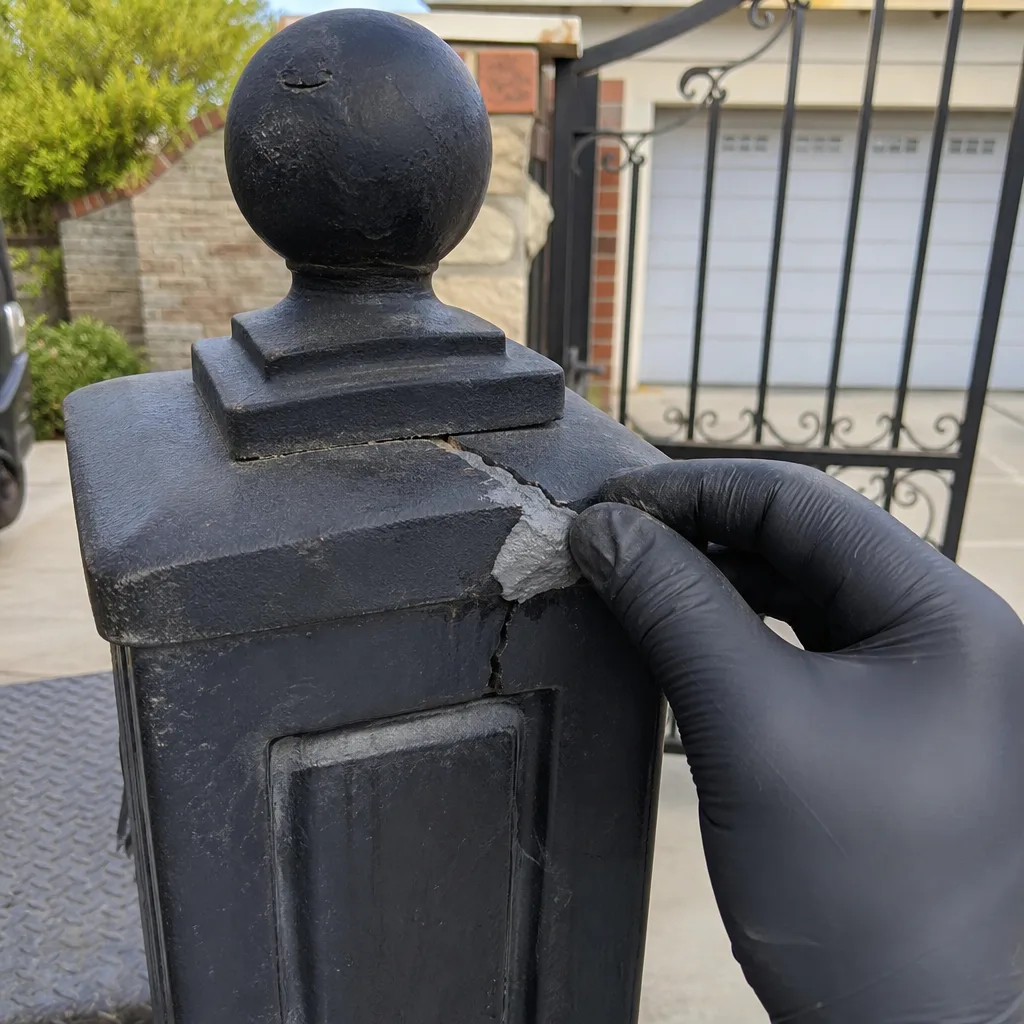
- The Monthly Visual Inspection: What Actually Matters
- Chain and Belt Measurements: The 3% Elongation Rule
- Hinge Play: Measuring Wear in Millimeters, Not Vibes
- Battery and Electrical Basics: Float Voltage and What It Tells You
- Photo-Eye Alignment: The Infrared Beam That Prevents Crush Injuries
- Burbank Seasonal Maintenance: Santa Ana Winds and Summer Heat
- The Maintenance Log: How to Document Every Check So It’s Useful Later
- What You Can Do Yourself vs. What Requires a Technician
BeforeAfterThe Monthly Visual Inspection: What Actually Matters
A monthly walk-around takes about 10 minutes and catches roughly 80% of gate failures before they strand you in your driveway or, worse, leave your property unsecured overnight. The key is knowing what to look at and what a problem actually looks like. We’ve repaired gates in Burbank where the homeowner noticed a “weird sound” three weeks before the motor burned out but didn’t know the sound meant a failing capacitor. Here’s what to look for, in order of importance.
Track and wheel condition: Run your hand along the track (when the gate is closed and the power is off). You’re feeling for rough spots, pitting, or debris buildup. A v-groove wheel that’s worn flat will cause the gate to drag, which overworks the motor. Look for metal shavings on the track. That’s not normal wear; that’s active grinding.
Gate position at rest: A gate that has drifted from vertical by more than 5 degrees is telling you something: a hinge, a wheel, or the post itself has moved. In Burbank’s clay-heavy soil, posts settle unevenly after rain seasons. A 5-degree lean compounds stress on every other component.
Fastener tightness: With the gate closed and power off, try to wiggle each hinge bolt by hand. If you can move any bolt with finger pressure, it’s loose. A single loose hinge bolt transfers load to the remaining bolts, which then fatigue and shear. This is a 2-minute check that prevents the most common catastrophic gate failure we see: a gate dropping off its hinges onto a car or a person.
Debris in the path: Burbank’s mature trees drop leaves, jacaranda flowers, and palm fronds into gate tracks year-round. Organic debris holds moisture, accelerates rust, and can wedge between the gate and the end stop, causing the motor to stall repeatedly. Each stall overheats the motor windings slightly. Twenty stalls is enough to degrade motor insulation. Clear debris with a stiff brush, not a pressure washer.
Start with this walk-around. If everything passes, move to measurements. That’s where the real maintenance happens.
Chain and Belt Measurements: The 3% Elongation Rule
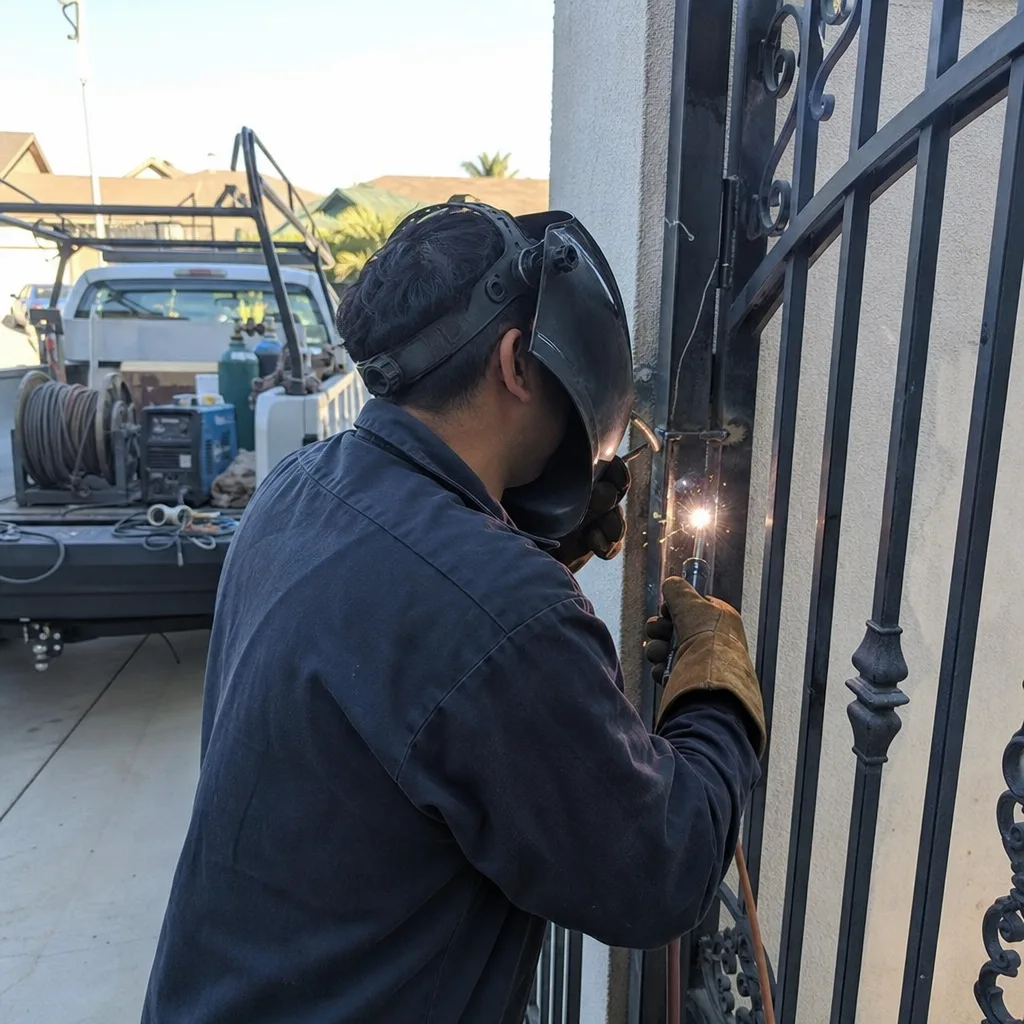
Here’s the problem with “check the chain” as maintenance advice: you can’t tell by looking whether a chain is worn. A worn chain looks almost identical to a new chain. The wear is in the pins and bushings, not the visible plates. The only way to check a chain is to measure it, and the number that matters is 3% elongation.
How to measure chain elongation at home:
- Close the gate. Disconnect power at the breaker or unplug the operator.
- Wrap a cloth tape measure around the chain at its longest accessible run and pull it taut. Note the distance between, say, 10 links.
- Compare that distance to the chain’s specification. A standard #40 or #50 chain has a pitch of 0.5 inches or 0.625 inches per link respectively. Ten links of #40 chain should measure exactly 5.0 inches when new.
- If your 10-link measurement is 5.15 inches or more, that’s 3% elongation. The chain is done.
Why 3%? Because chain and sprocket wear is a feedback loop. As the chain elongates, the pitch no longer matches the sprocket tooth spacing. The rollers start climbing the teeth. That concentrates load on fewer teeth, which wears the sprocket faster, which accelerates chain wear. Below 3%, you can replace just the chain. Above 3%, you almost always need to replace the chain and the sprockets together, because the sprocket tooth profile has already been deformed.
For belt-drive gates, the measurement is different but the principle is identical. A belt that’s glazed (smooth and shiny on the contact surface) has lost its grip. A belt with visible cracking at the tooth root is close to snapping. Belts don’t elongate like chains; they fail suddenly. If your gate uses a belt drive and you can’t read the belt’s part number because of wear, that’s your cue to replace it.
Most Burbank homes with chain-drive slide gates use LiftMaster or BFT operators. The chain on a typical 16-foot slide gate needs replacement every 5 to 7 years with normal use. If you’re on a busy street like Glenoaks or Olive Avenue with frequent gate cycles, expect 3 to 4 years.
Hinge Play: Measuring Wear in Millimeters, Not Vibes
Hinge wear is the slowest-moving failure on a gate, and the hardest to notice without a measurement. Here’s the pass/fail threshold we use on every service call: with the gate closed, lift the gate leaf at the latch end. If you measure more than 2mm of vertical movement, the hinge pins or bushings are worn beyond acceptable limits.
How to measure it: Tape a piece of paper to the gate post at the latch end. Draw a horizontal line at the top edge of the gate when it’s at rest. Lift the gate with one hand and mark the new top edge position. Measure the gap between the two lines. That’s your hinge play. Do this for both gate leaves on a double swing gate.
Two millimeters doesn’t sound like much. But hinge play multiplies at the latch end. The latch end is typically 6 to 8 feet from the hinge post. A 2mm play at the hinge translates to visible sag at the latch end. That sag makes the latch misalign, then the latch bolt drags, then the operator fights the drag, then the motor overheats. Hinge wear is the root cause behind a surprisingly large share of the gate motor and opener repairs in Burbank that come through our shop.
Hinges on Burbank gates wear faster than average because of the wind. Santa Ana events, especially the sustained 40-mph gusts we get in the fall, cycle the gate at its hinge points continuously. It’s not a big force, but it’s applied for hours. Over a season, that’s hundreds of thousands of micro-cycles. Hinges with grease fittings should be greased every 90 days. Hinges without fittings are sealed units; replace them when they exceed 2mm of play, don’t try to drill and add a fitting.
Battery and Electrical Basics: Float Voltage and What It Tells You
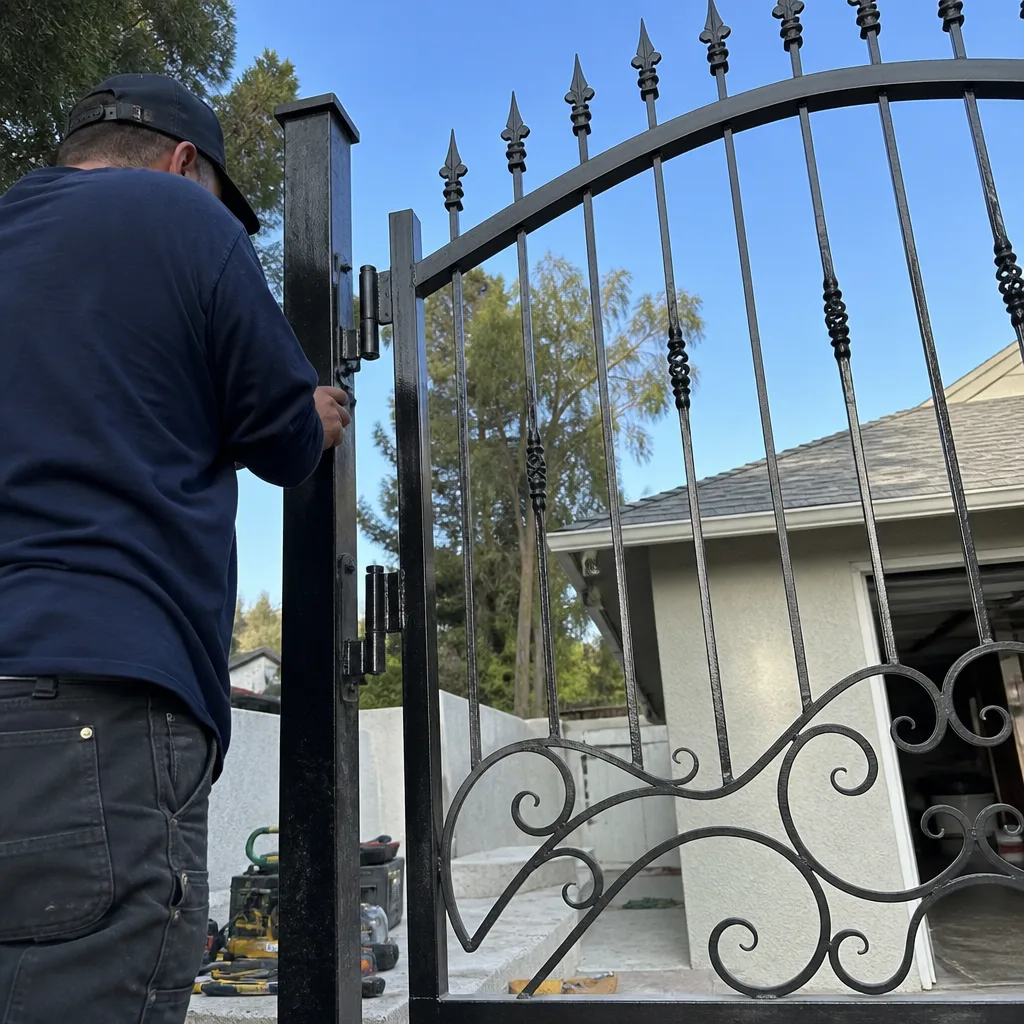
Battery backup systems are standard on most Burbank gate operators, especially on hillside and canyon properties where power outages are more frequent. The battery is also the component homeowners understand least. Here’s the number that matters: float voltage.
A healthy 12V lead-acid battery in a gate operator should read between 13.2V and 13.8V when the charger is in float mode with the gate at rest. Below 13.0V means the charger isn’t maintaining the battery. Below 12.4V means the battery is being discharged and not recovering. Below 11.8V under load means the battery is effectively dead and will not open the gate during a power outage.
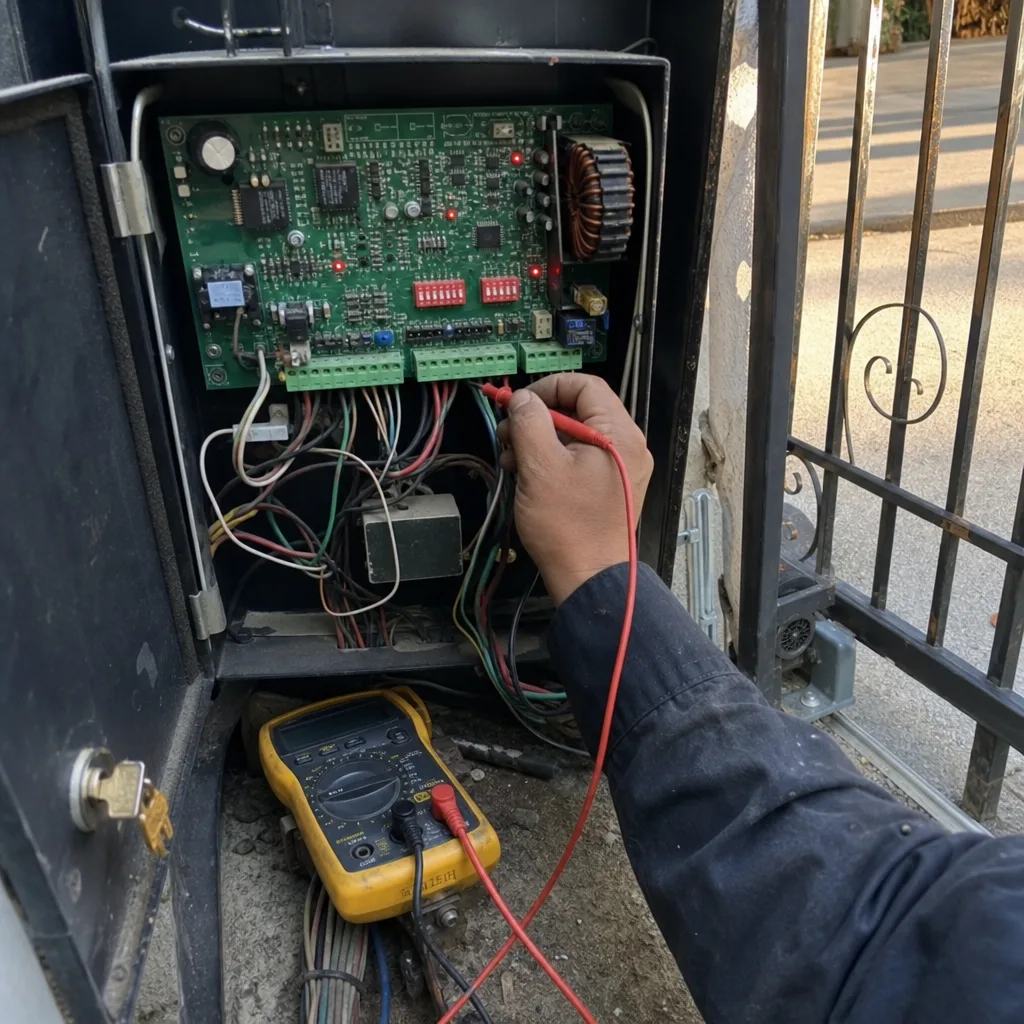
How to check it: A $25 digital multimeter set to DC volts. Touch the probes to the battery terminals with the operator powered. Note the reading with the gate at rest, then again while the gate is opening (have someone press the button). If the resting voltage is good but the opening voltage drops below 11.5V, the battery has internal resistance and needs replacement.
Warning: anything beyond checking battery voltage with a multimeter crosses into dangerous territory. Gate operators contain capacitors that store a lethal charge even after the unit is unplugged. A capacitor in a BFT or Viking operator can hold hundreds of volts. Do not open the operator housing. Do not touch the control board. Do not attempt to discharge anything. We’ve stated this explicitly in our gate repair guide for Burbank, and it bears repeating here: electrical work on gate operators is licensed-technician territory under California electrical code.
Battery replacement schedules in Burbank run about 3 years on average. Heat kills lead-acid batteries faster than anything else, and Burbank summers with weeks above 90°F accelerate the chemical degradation. If your battery is older than 3 years and you live on a property where the operator is in direct afternoon sun, preemptively replace it. The cost of a battery is trivial compared to the cost of a gate that won’t open during a PSPS event.
Photo-Eye Alignment: The Infrared Beam That Prevents Crush Injuries
The photo-eye, called a photo-eye or safety beam, is the pair of small boxes mounted near the bottom of the gate opening on opposite sides. One emits an infrared beam. The other receives it. If anything breaks the beam while the gate is closing, the operator reverses immediately. This is not optional equipment. It’s mandated by UL 325, the safety standard for automatic gate operators, and it prevents the most severe gate injuries.
Photo-eye misalignment is the single most common cause of “my gate won’t close” service calls we see in Burbank. Here’s the pass/fail test:
Alignment check: With the gate fully open and the path clear, look at the receiver photo-eye. Most units have a small LED that’s solid when the beam is aligned and blinking when it’s not. If it’s blinking, the beam is broken or the eyes are out of alignment. Bump the emitter slightly and watch the receiver LED. Solid means aligned.
The 1-inch rule: Photo-eyes are forgiving. They work if the beam hits the receiver lens within its active area, which is typically about 1 inch in diameter. If you can visually confirm the emitter is pointing at the receiver (not at the ground, not at the post, not at a shrub), and the receiver LED is solid, alignment is fine. No further adjustment needed.
The Burbank-specific problem: Ground movement. Burbank’s clay soil expands and contracts significantly with moisture changes. Photo-eye posts, if mounted on separate posts or on a post that’s settling, shift relative to each other. That’s why the same gate that worked fine in May misaligns in November after the first rains. Check alignment quarterly, and after any significant rain event.
Warning: if the photo-eye is aligned correctly and the gate still reverses mid-cycle, do not bypass the photo-eye to “fix” the problem. That’s not a fix. That’s disabling a safety system. The problem is likely a wiring fault, a failing photo-eye, or an obstruction detection setting. Call a technician.
Burbank Seasonal Maintenance: Santa Ana Winds and Summer Heat
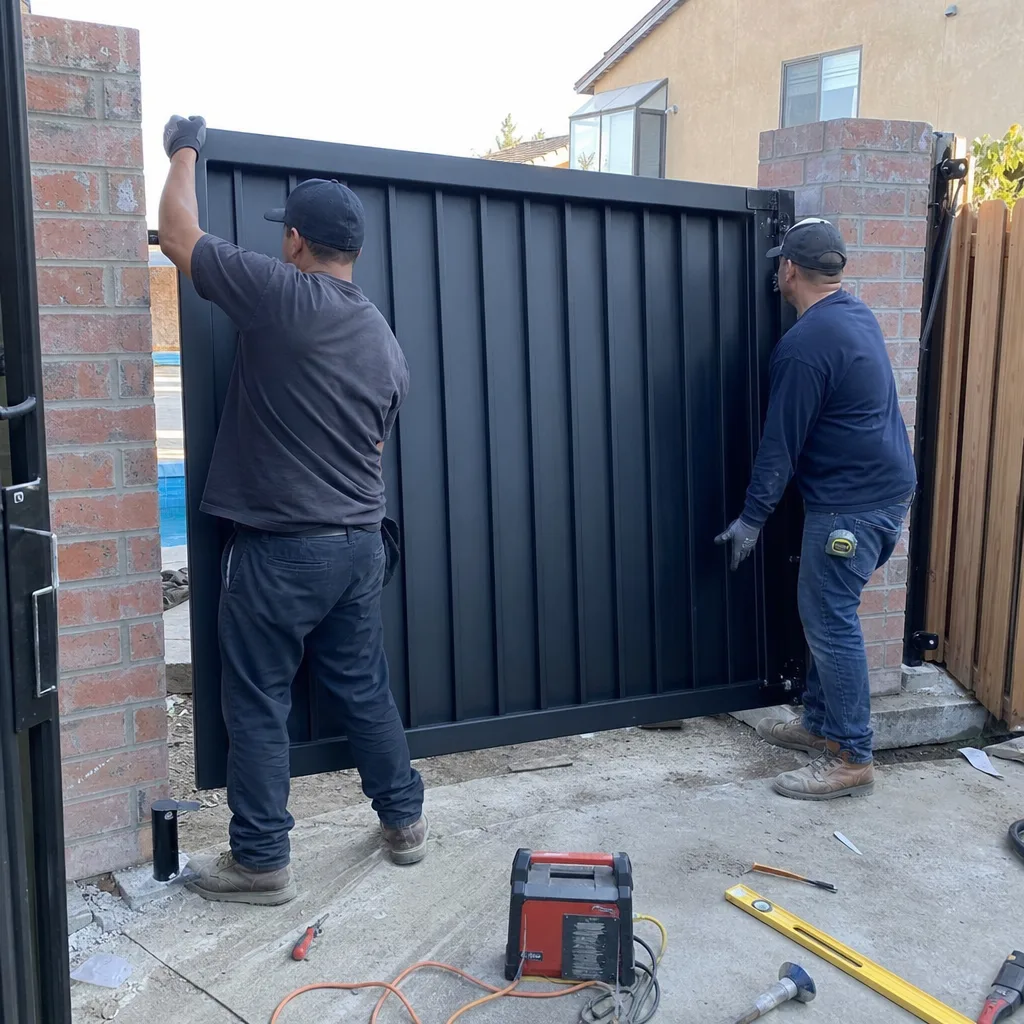
Burbank has two maintenance seasons, and neither of them matches the generic “spring and fall” advice you’ll find in most gate checklists. Here’s what actually matters in this specific climate.
October through December (Santa Ana season): Santa Ana winds produce sustained 30 to 50 mph gusts with relative humidity dropping into the single digits. Two things happen to your gate. First, the wind pushes directly against a closed gate, cycling the hinges and stressing the operator’s hold circuit. Second, fine dust and sand get blown into every moving part, especially chain links, wheel bearings, and limit switch housings. After every Santa Ana event, do a visual inspection for debris in the track and re-grease the chain. If you have a slide gate with a chain, the dry air actually reduces chain corrosion, but it accelerates abrasive wear from the dust.
One more Santa Ana consideration: bungee cords and propped-open gates. During high-wind events, some homeowners prop their gates open to prevent wind damage. We understand the instinct. But an open gate during a windstorm is a sail. The wind catches the gate face and slams it against the end stop, bending the gate frame and damaging the operator gearbox. If you must prop the gate open, use a solid mechanical stop on both sides, and unplug the operator first. Better yet, upgrade to a wind-rated operator with a clutch that releases under excessive force.
June through September (summer heat): Burbank regularly sees 90°F to 100°F days in July and August, and interior temperatures inside a metal operator housing can reach 140°F. Heat affects hydraulic operators the most. Hydraulic fluid thins as temperature rises, reducing the operator’s effective force. If your gate is sluggish in the summer but fine in the winter, the hydraulic fluid may be the wrong viscosity or overdue for replacement. FAAC and BFT hydraulic operators, which are common on Burbank swing gates, should have their fluid checked every two years.
Summer is also when the insects show up. Spider webs and mud wasp nests inside operator housings and photo-eye lenses are a real thing. A spider web across a photo-eye lens is enough to diffuse the beam and trigger a false obstruction detection. Check photo-eye lenses monthly in summer.
If you want a deeper look at what’s involved in gate repair in our specific market, our complete gate repair page for Burbank covers the most common failure modes we see door to door.
The Maintenance Log: How to Document Every Check So It’s Useful Later
Here’s the part that every other maintenance checklist skips: the record. A checklist you fill out and throw away is worthless. A maintenance log you keep for five years becomes the most valuable document attached to your gate. When you sell the house, it’s evidence that the gate was maintained. When something breaks, it tells the technician what was done, what was replaced, and what readings were normal last month.
What to record in your gate maintenance log:
- Date and time of the inspection.
- Chain or belt measurement (the actual number, not “looks fine”).
- Hinge play measurement in millimeters.
- Battery float voltage reading.
- Photo-eye LED status (solid or blinking, before and after adjustment).
- Parts replaced, including brand, part number, and source.
- Photos of any wear you observed, taken from the same angle each time so you can compare over time.
- Technician name and company if a professional did the work.
We follow this same documentation standard on every service visit in Burbank. Before we leave, you get a photo log of every adjustment we made and a written record of the part number we installed. That’s the Haven Standard at work: written price before the work starts, photographic evidence when the work is done, and the 365-Day Done Right Promise behind all of it. The reason we document this heavily is simple: your next technician, whether it’s us or someone else, should never have to guess what was done before.
On the subject of replacements: if your maintenance log shows three hinge replacements in five years, you have a systemic issue, not a hinge issue. That log is what tells us the real problem is likely the gate post or the gate weight distribution. Without the log, we’d replace the hinge and send you on your way. With the log, we fix the root cause.
What You Can Do Yourself vs. What Requires a Technician
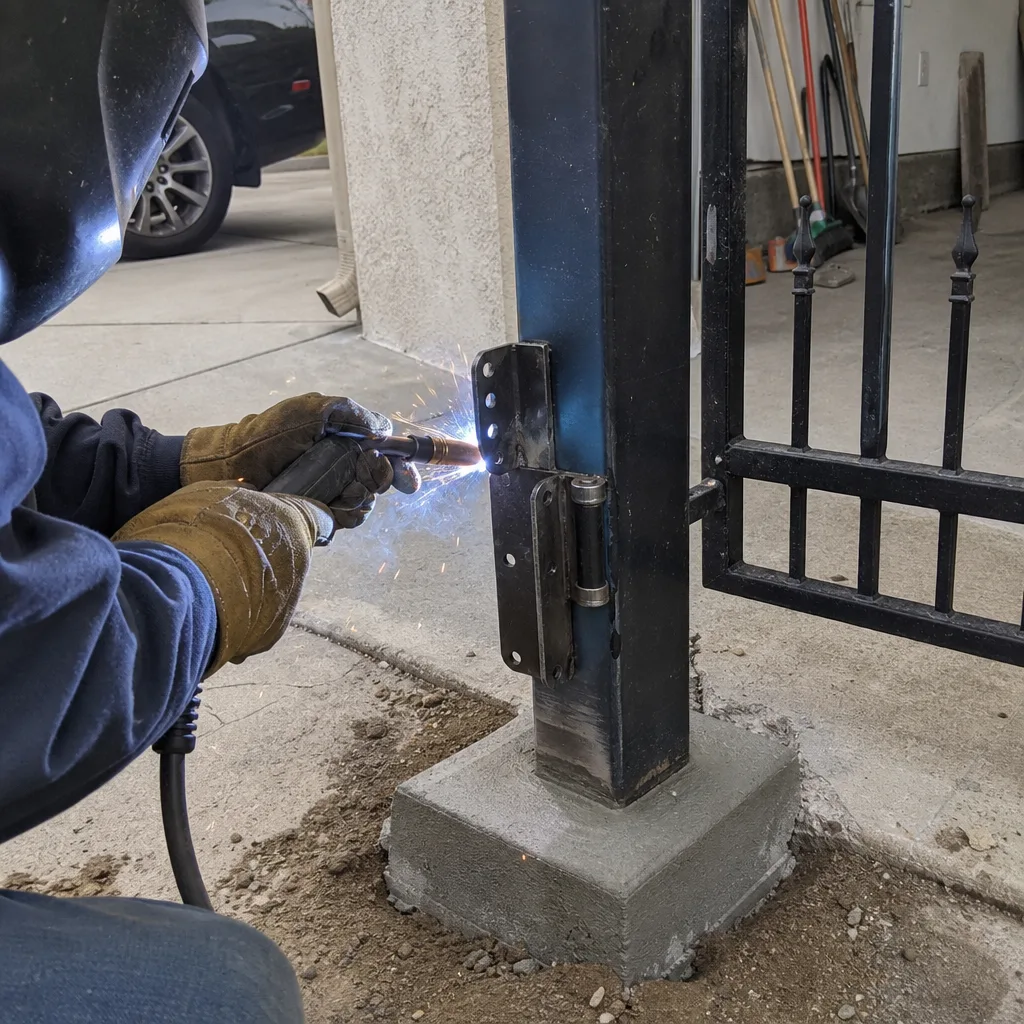
This is the section most guides get wrong. They either tell you everything is DIY or nothing is. Here’s the honest breakdown for Burbank homeowners, based on California electrical code and basic safety.
Safe to DIY (with power off and gate secured):
- Visual inspection of track, chain, belt, hinges, and photo-eyes.
- Clearing debris from tracks and photo-eye lenses with a soft brush.
- Greasing accessible chain and hinges with the correct lubricant.
- Measuring chain elongation and hinge play.
- Checking battery voltage with a multimeter (leads only on the battery terminals).
- Photographing everything and updating your maintenance log.
Requires a licensed technician:
- Opening the operator housing for any reason. Capacitors inside store lethal voltage.
- Adjusting limit switches. These control how far the gate travels and setting them wrong can damage the gate or the operator.
- Any work on the control board, wiring, or capacitor.
- Hydraulic fluid inspection or replacement.
- Spring tension adjustment on any gate with an assist spring. Gate springs are under enormous tension and release instantly if mishandled.
- Replacing wheel bearings or hinge pins, if the gate must be supported and partially disassembled.
The line between DIY and professional work isn’t about how handy you are. It’s about whether a mistake injures someone or creates an unsafe condition. We’ve seen Burbank homeowners successfully maintain their gates for years with nothing more than a multimeter, a tape measure, and a maintenance log. We’ve also seen a homeowner in the Riverside Drive area lose the tip of a finger to a gate hinge that slipped during a DIY replacement because the gate wasn’t supported. The checklist above keeps you on the right side of that line.
If you’re ever uncertain, the cost of a service call is less than the cost of a hospital visit. Our Vance Gate Repair Burbank home page lists everything we service, and you can always call for a quick phone assessment before you commit to a visit.
Common Mistakes to Avoid
- Lubricating without cleaning first. Grease on top of sand and metal shavings creates an abrasive paste that accelerates wear. Clean the chain with a dry brush, then lubricate. Lube over debris is worse than no lube at all.
- Using WD-40 on chains and hinges. WD-40 is a solvent, not a lubricant. It displaces water (good) and strips existing grease (bad). Use a proper chain lube or lithium grease. We see WD-40-dried chains on Burbank gates all the time, usually accompanied by a rusty chain that needs replacement.
- Ignoring a gate that’s slightly slower than it used to be. A gate that takes 20 seconds to open instead of 15 is telling you something. Slow speed means resistance, resistance means friction, friction means wear somewhere. Find the resistance before it finds you.
- Bypassing the photo-eye. If the gate won’t close because the photo-eye is “acting up,” bypassing it is the single most dangerous thing you can do. The photo-eye is what stops the gate from crushing a child, a pet, or a delivery driver. Fix the photo-eye, don’t disable it.
- Pressure washing the operator. Water and electronics don’t mix. Pressure washing drives water into the housing, the limit switch, the control board. The corrosion doesn’t show up immediately; it shows up six months later as an intermittent fault that’s expensive to diagnose.
- Not photographing before and after. Your eyes are not a reliable record. Photos taken from the same angle every time are. If you’re not photographing your maintenance, you’re not maintaining, you’re just looking.
- Ignoring the gate post. The post is the foundation of the entire system. A post that’s leaning 5 degrees stresses every other component on the gate. In Burbank’s clay soil, post settlement is common. Check it monthly. Fix it when it moves.
When to Call a Professional
Call a professional when you see any of these: a chain measurement over 3% elongation, hinge play over 2mm, battery float voltage below 12.4V at rest, a photo-eye LED that won’t stay solid after realignment, a gate that’s visibly leaning, or any electrical symptom you can’t fully explain. These aren’t minor issues. They’re early warnings of failures that get more expensive the longer they go unaddressed. Vance Gate Repair Burbank offers free estimates in Burbank, and you’ll get a written price before any work starts. Call (213) 577-1120 to schedule a maintenance inspection or a repair diagnostic.
Frequently Asked Questions
Perform a visual inspection monthly, a measured inspection (chain, hinges, battery, photo-eyes) every 90 days, and schedule a professional maintenance visit once per year. Burbank’s Santa Ana winds and summer heat make quarterly measurements more important than in milder climates. A yearly professional visit catches what homeowner checks miss and resets the documented baseline.
Annual professional maintenance for a single gate in Burbank typically runs $150 to $300, depending on the gate type, operator brand, and what needs adjustment. Parts replacement is additional and is always quoted in writing before work begins. Call (213) 577-1120 for an exact quote, and remember that Vance Gate Repair Burbank provides a written price before any work starts.
Photo-eye misalignment is the most common gate problem in Burbank, driven by clay-soil movement that shifts the photo-eye posts relative to each other. The second most common is chain wear, which we measure at over 3% elongation on roughly four out of ten slide-gate service calls. Both are preventable with the measurements in this guide.
You can check battery voltage and photo-eye alignment yourself. You should not open the operator housing, adjust limit switches, or work on anything involving the capacitor or control board. Gate operators store lethal voltage even when unplugged. California electrical code and basic safety both dictate licensed work on these components.
A quality gate operator in Burbank lasts 7 to 10 years with proper maintenance. Heat kills motors faster here than in coastal communities, and operators mounted in direct afternoon sun tend to fail closer to the 7-year mark. Annual maintenance and keeping the housing shaded and ventilated extends life meaningfully.
A maintenance check is preventative: we measure, lubricate, adjust, and document. A repair diagnostic is reactive: something has already failed and we’re finding the cause. In practice, a good maintenance visit often catches a repair before it happens. Vance Gate Repair Burbank provides both services, with a written price before any work on either. Call (213) 577-1120 for a free estimate.
The Bottom Line
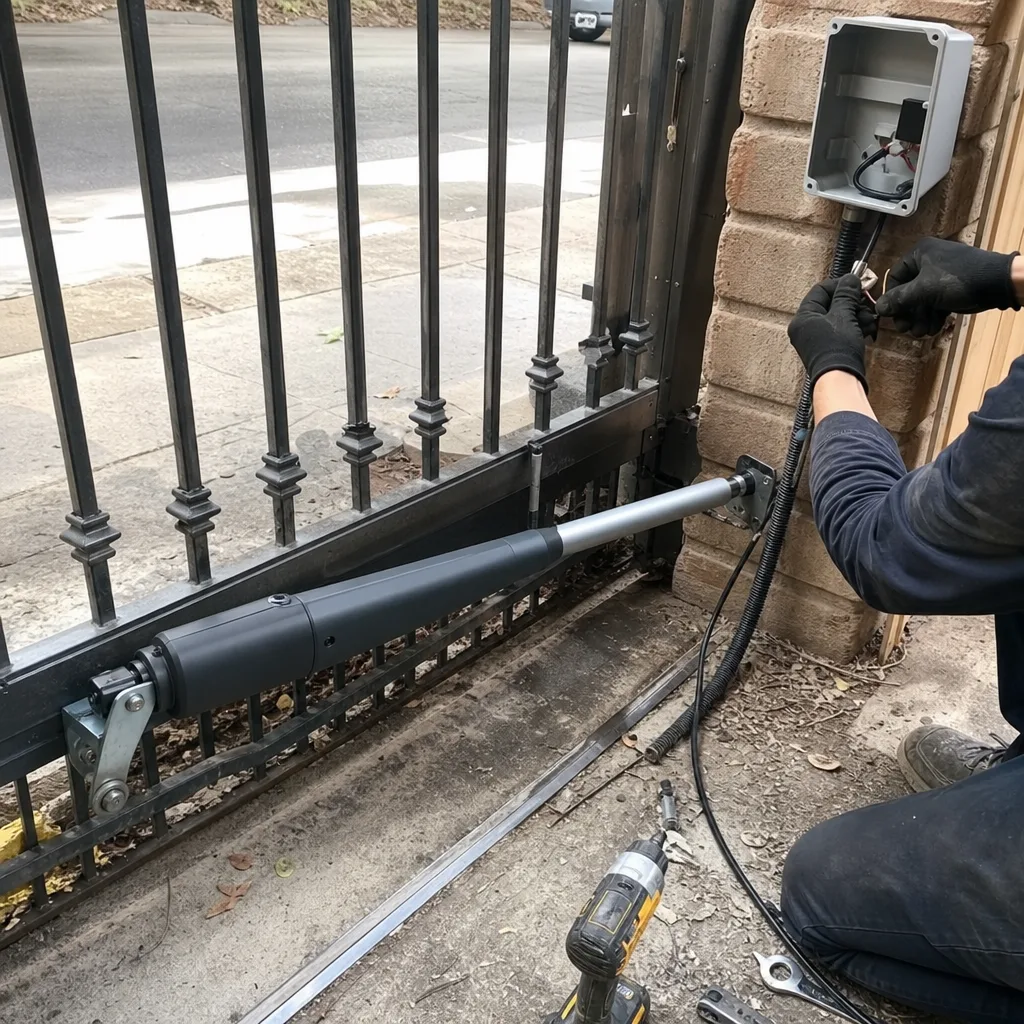
Gate maintenance in Burbank is not complicated, but it is specific. The difference between a gate that lasts 15 years and a gate that fails in 7 is not luck. It’s measurement: chain elongation, hinge play, float voltage, photo-eye alignment. It’s the maintenance log that turns your observations into a service history. And it’s knowing which tasks are yours and which belong to a licensed technician. Vance Gate Repair Burbank performs annual maintenance and repairs across Burbank, with a written price before any work starts, a documented photo record on every visit, and the 365-Day Done Right Promise behind everything. If you’re not sure what your gate needs, our gate installation page for Burbank covers full replacement options, and our motor and opener page details the brands we service, including LiftMaster, FAAC, BFT, Linear, and Viking. Call (213) 577-1120 with your measurements. We’ll tell you what they mean.
Written by Adrian Vance, Owner at Vance Gate Repair Burbank, serving Burbank since 2014.