
Last updated September 20, 2026
Free on-site gate assessment - hinges, posts, and your LiftMaster or Nice gate operator checked before anything is quoted
The assessment is free and the quote is the invoice.

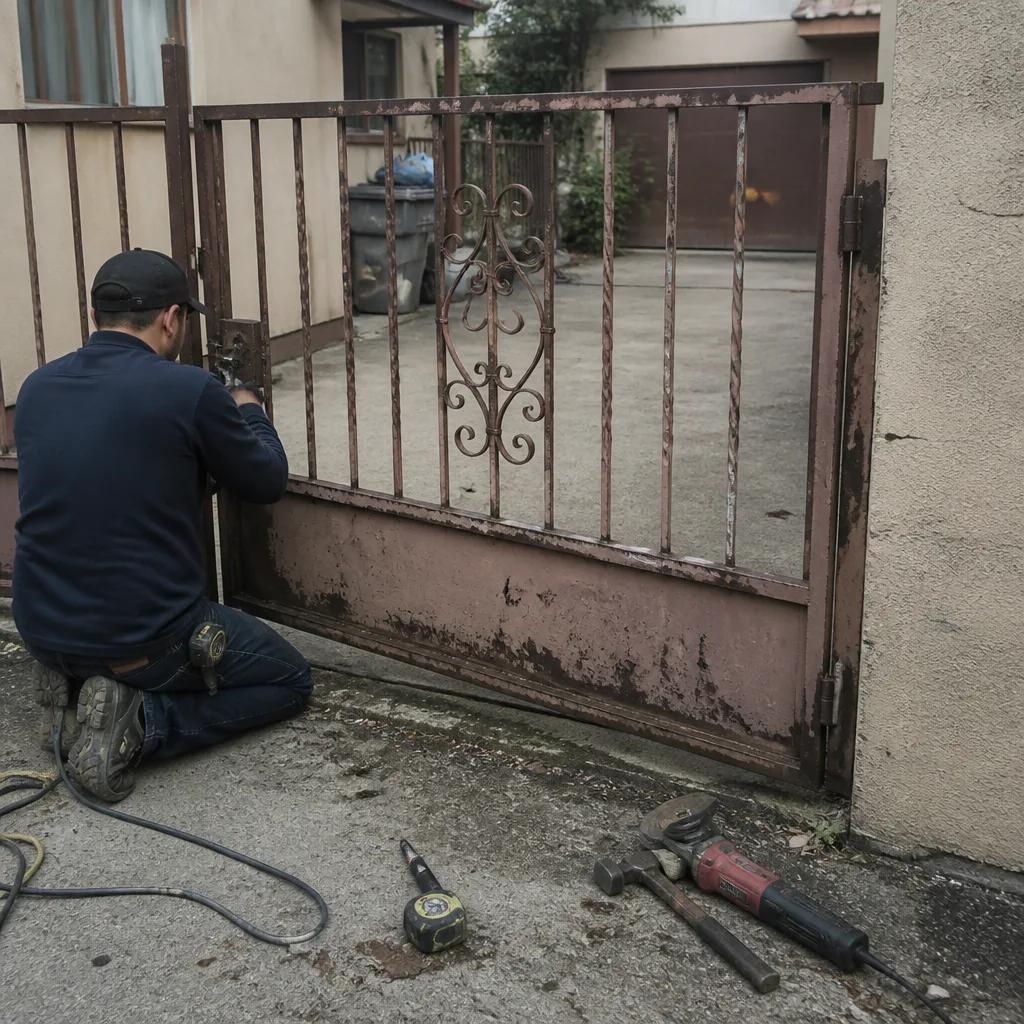 Before
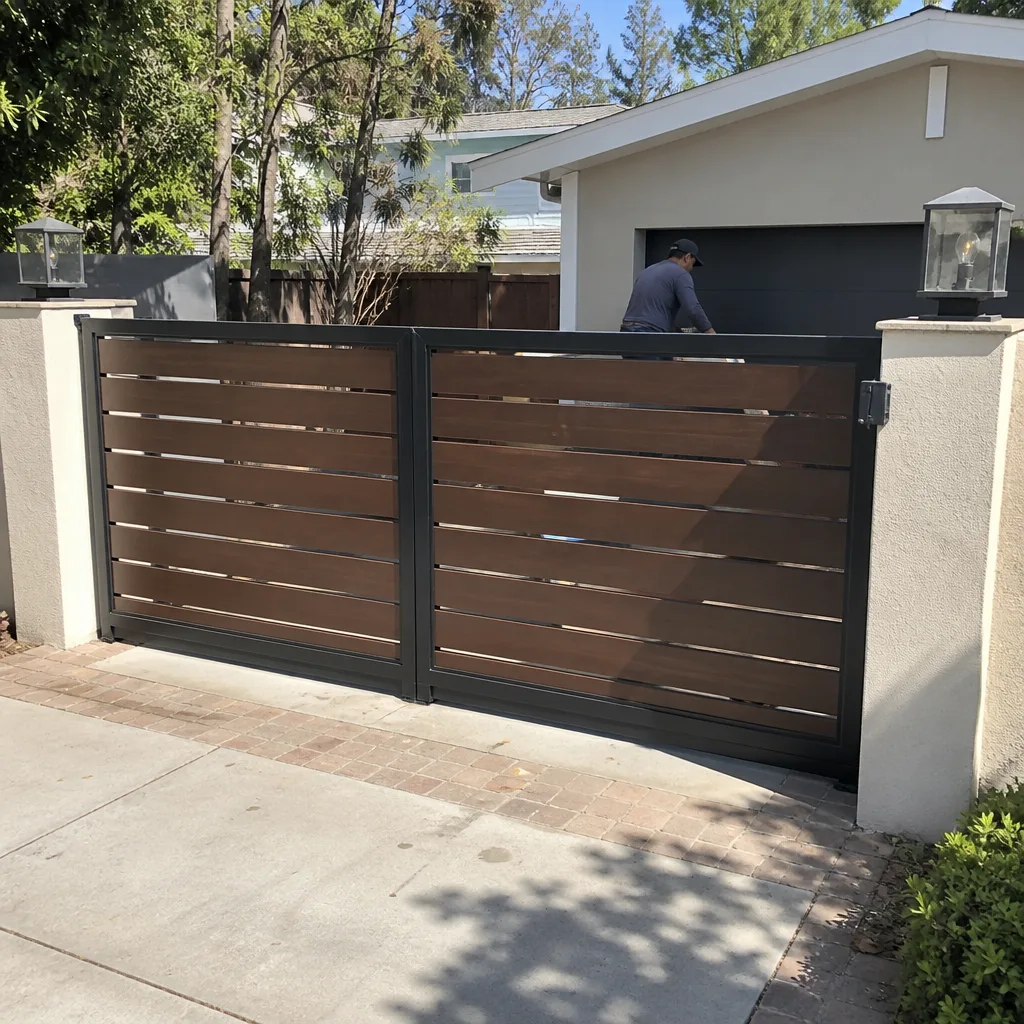 After
After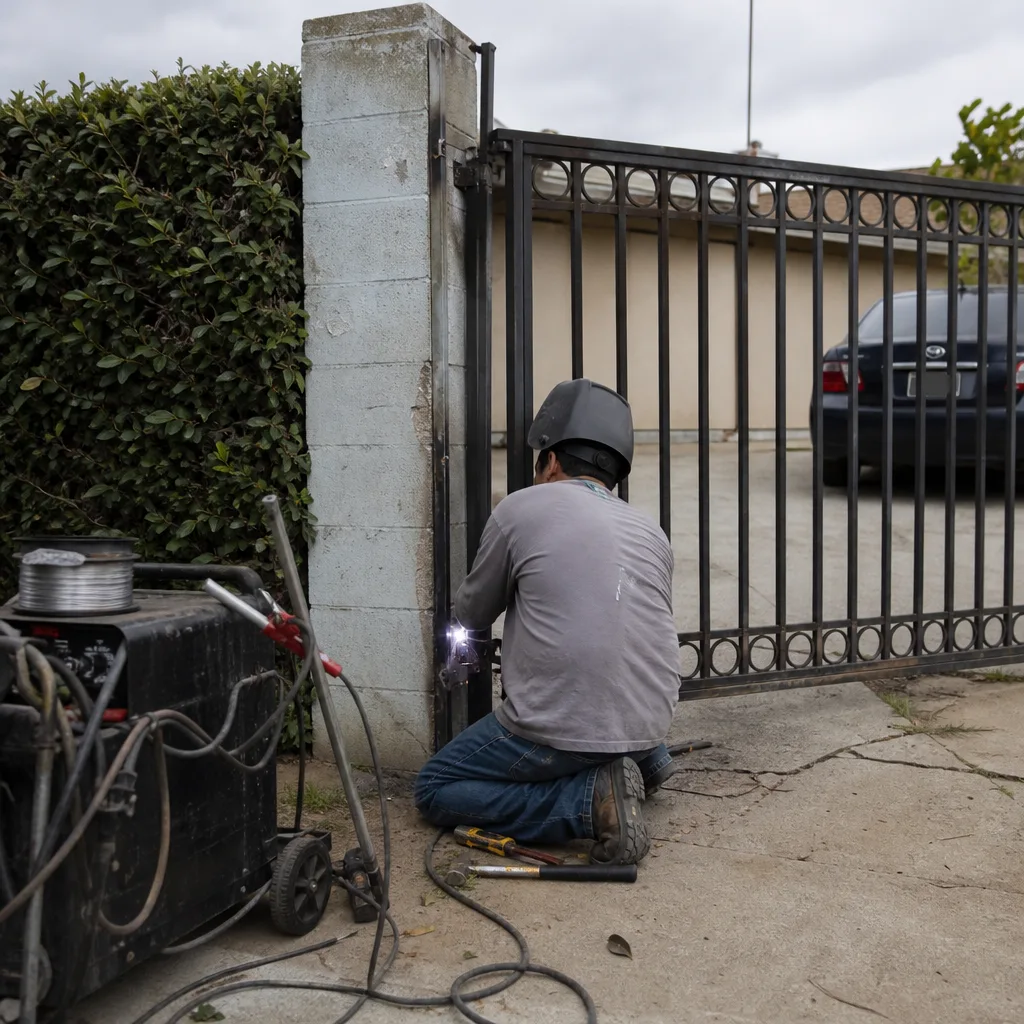 Before
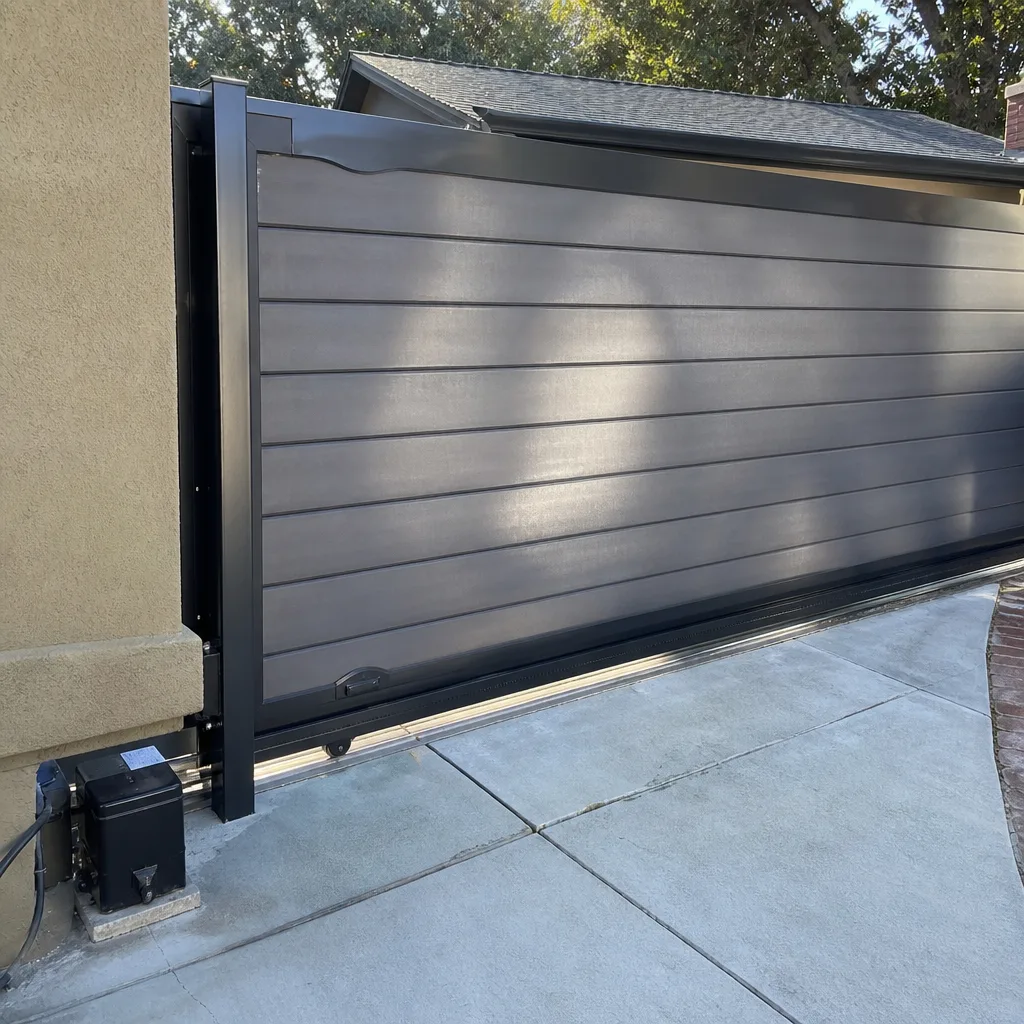 After
After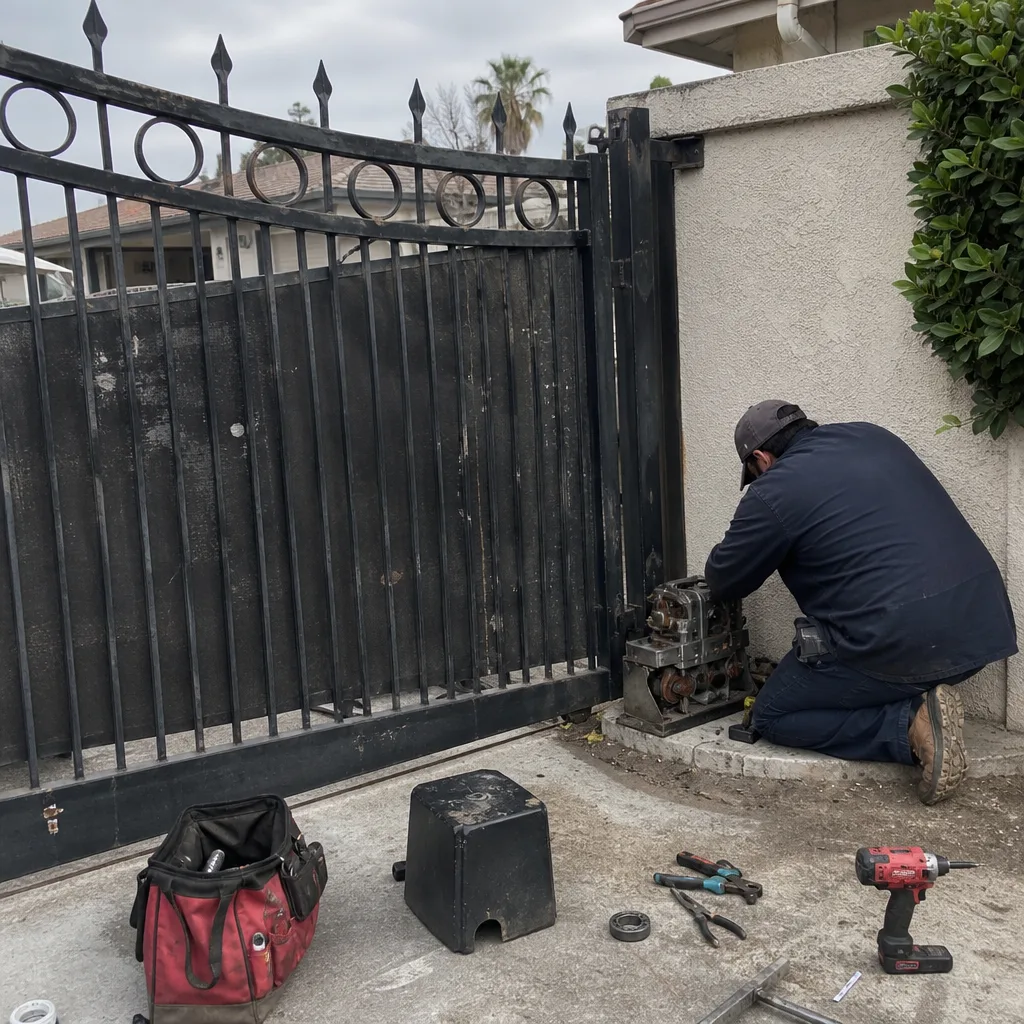 Before
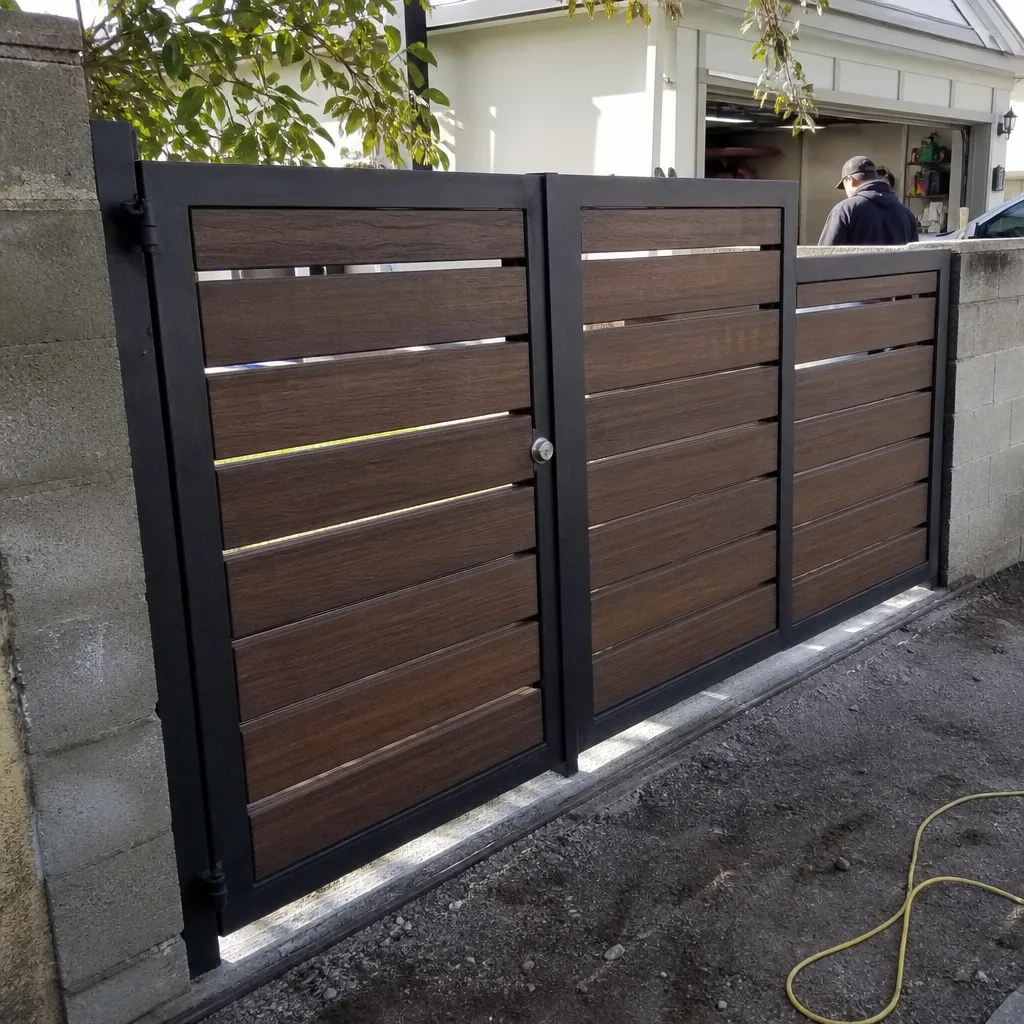 After
AfterSeasonal Gate Repair Care for Burbank: Year-Round Homeowner’s Guide
Burbank averages 284 sunny days a year, which makes it easy to assume outdoor hardware is fine. What summer heat above 95°F does to a gate operator’s capacitor and hydraulic fluid is invisible until the gate stops mid-travel in August. The same gate that ran smoothly through a mild spring will sit dead on a 102°F afternoon, and the homeowner is left standing in the driveway wondering what changed. This guide-along with our Complete Guide to Gate Repair in Burbank-lays out the four stress periods that actually shape gate performance in Burbank, what each one damages, and what to inspect before the failure happens. You’ll learn how to build a simple photo log that catches drift before it becomes a repair bill, which components fail in which season, and when a written estimate from a Burbank gate specialist is the smarter call than another weekend spent guessing.
Quick Answer
Seasonal gate care in Burbank is best organized around four stress periods rather than calendar months: summer heat degrades capacitors and hydraulic fluid, Santa Ana winds load hinges and post anchors laterally, winter rain introduces corrosion at electrical connections that sat dry for months, and spring is when thermal expansion cycles cause limit-switch drift. A four-entry annual log with photos taken from the same positions each time catches these issues before they become no-start conditions or structural failures.
Table of Contents
- Summer Stress: Capacitor Degradation and Hydraulic Fluid Breakdown
- Santa Ana Wind Season: Lateral Load on Hinges and Post Anchors
- Winter Rain Periods: Corrosion at Electrical Connections
- Spring Inspection Sequence: Limit-Switch Drift from Thermal Expansion
- Building a Four-Entry Annual Log with Consistent Photo Positions
- What to Check on Your Gate Every Season
- Common Mistakes to Avoid
- When to Call a Professional
- Frequently Asked Questions
- The Bottom Line
BeforeAfterSummer Stress: Capacitor Degradation and Hydraulic Fluid Breakdown
Burbank summers routinely push past 95°F, and every degree above that threshold accelerates two specific failure modes in gate operators. The first is capacitor degradation. Most residential swing and slide gate operators use electrolytic capacitors to start the motor, and these components have a rated lifespan measured in hours at a given temperature. A capacitor rated for 10,000 hours at 85°F might last half that long at 105°F. In Burbank, where summer temperatures sit in the high 90s day after day, we see capacitors fail on operators that are only five or six years old. The symptom pattern is predictable: the gate starts slower than it used to, then it hums without moving, and finally it won’t start at all. By the time you hear the hum, the capacitor is already done.
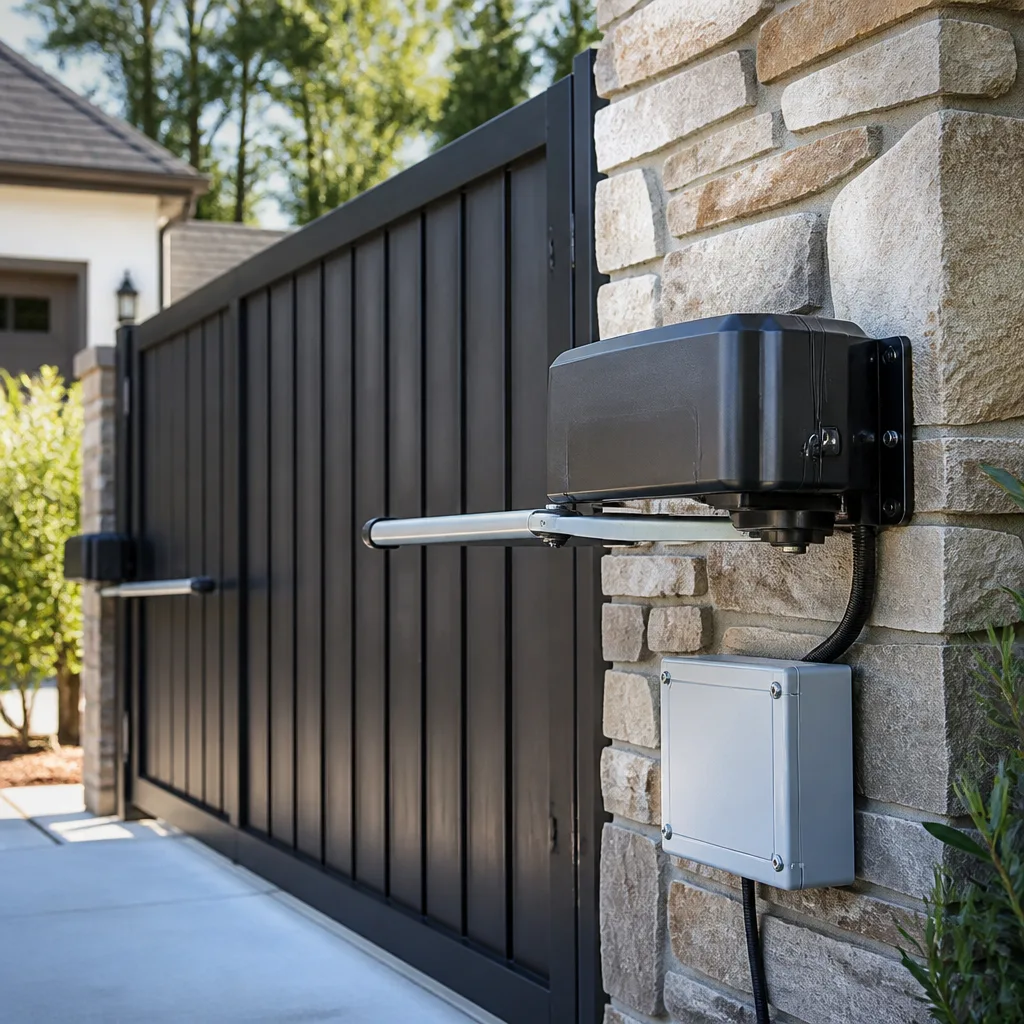
The second summer failure mode is hydraulic fluid breakdown in hydraulic operators. Brands like Elite and FAAC make hydraulic swing and slide operators that are common in Burbank’s hillside neighborhoods, and the fluid inside those units thins as it heats. A gate that opens smoothly at 8 a.m. may crawl or stall at 3 p.m. when the operator housing is sitting in direct sun. The fluid itself degrades over time, losing viscosity and picking up moisture. We replace hydraulic fluid as a maintenance item, not a repair item, and in Burbank that interval is shorter than the manufacturer’s generic recommendation because of the sustained heat.
The lead time on these failures matters. A capacitor doesn’t die instantly in most cases. It degrades over a period of weeks or months. The gate gets slower. The motor draw increases. The operator runs hotter. If you catch it during that window, the fix is a simple parts replacement with a written price before work starts. If you miss it, the motor may overheat and the repair becomes a full operator swap. The pattern is consistent enough that we tell Burbank homeowners to treat any change in gate speed during summer as an early warning, not a quirk, and to read our DIY vs Professional Gate Repair: The Burbank Homeowner’s Decision Guide before deciding how to proceed.
Santa Ana Wind Season: Lateral Load on Hinges and Post Anchors
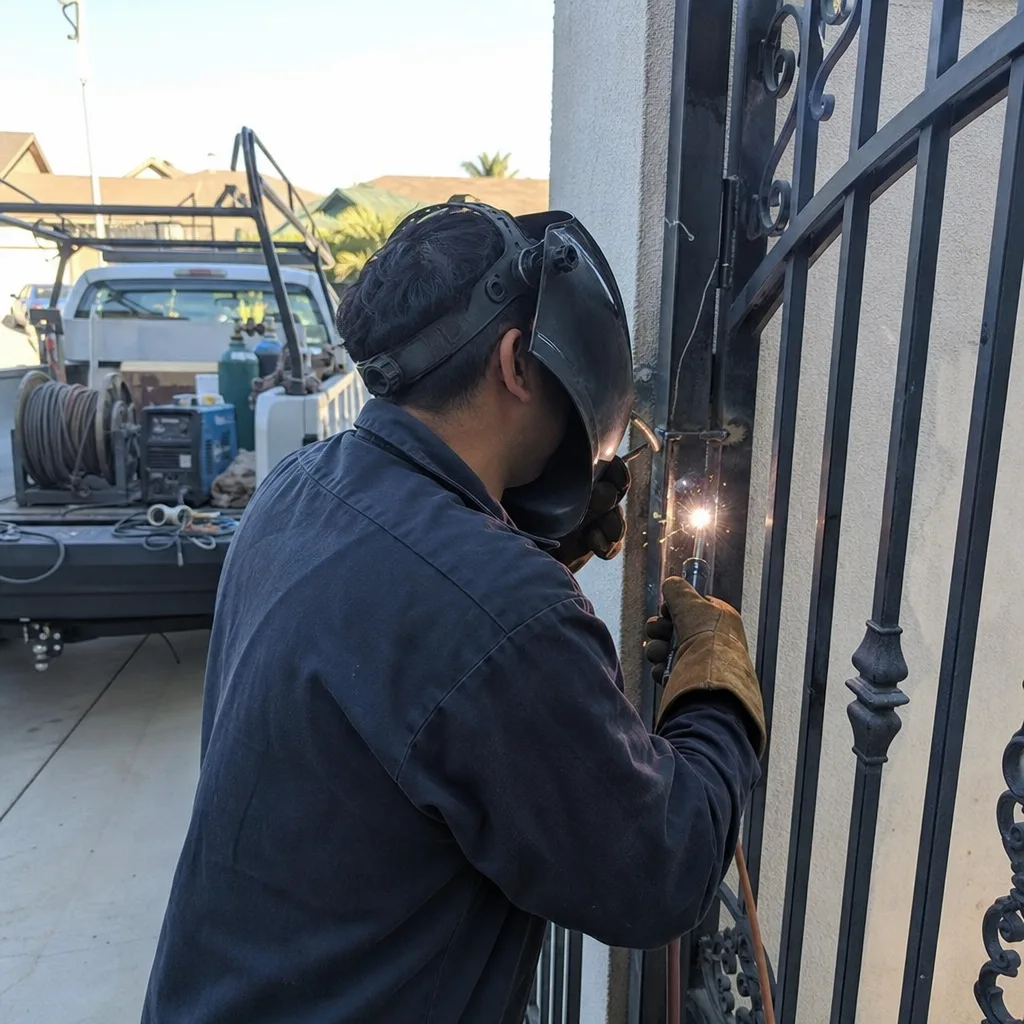
Santa Ana winds hit Burbank most often between September and November, with gusts that regularly exceed 40 mph and occasionally push past 60 mph in the Verdugo foothills. Those winds don’t hit a swing gate head-on the way you might expect. They hit it laterally, pushing the gate leaf sideways against its hinges and twisting the post. The result is a specific type of wear that doesn’t show up during normal operation. Hinge pins develop play. Post anchors loosen in their concrete footings. Weld points at the hinge leaf flex and eventually crack.
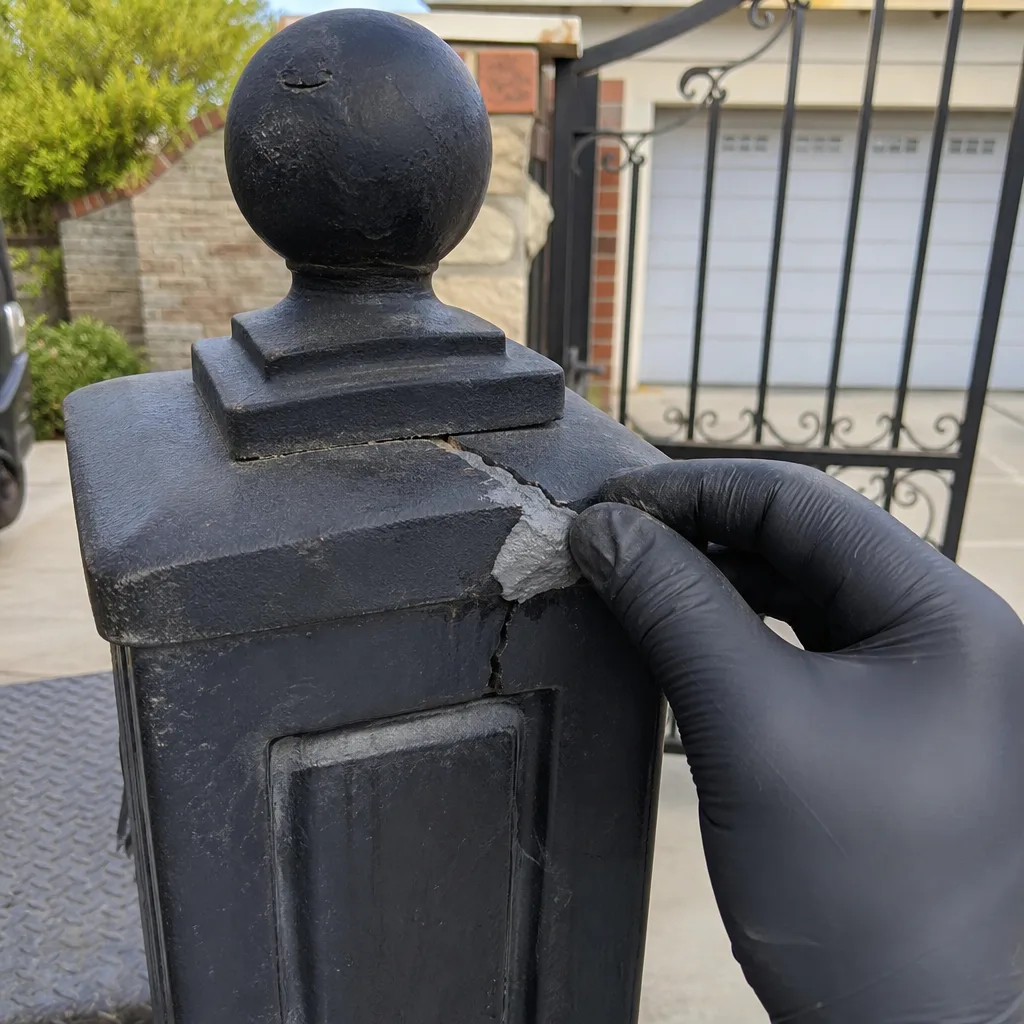
The fastener grade matters more than most homeowners realize. A standard zinc-plated grade 2 bolt will shear or stretch under repeated lateral loading from Santa Ana gusts. For hinge and post-anchor hardware on a gate that faces sustained wind load, grade 5 or grade 8 fasteners are the right call. Grade 8 is rated for roughly 150,000 psi tensile strength, which is why we spec it on heavy slide gate tracks and swing gate post brackets in Burbank’s wind-exposed neighborhoods. If you’re inspecting your own gate after a wind event, look for shiny metal at the base of post bolts, hairline cracks around hinge welds, and any visible gap between the post base plate and the concrete.
Wind load also affects slide gates differently. A cantilever slide gate has its weight carried by the track and rollers, but a strong crosswind puts lateral pressure on the roller carriages. We’ve seen roller bearings fail after a single strong Santa Ana event on gates that had marginal clearance. The symptom is a gate that scrapes or binds when it moves, or a grinding sound that gets worse as the gate travels. That’s bearing material failing, and it won’t fix itself. Replacing rollers before the carriage housing gets damaged is a $200 to $400 job in Burbank. Replacing the carriage assembly after the housing ovalizes is a $600 to $1,200 job. The difference is inspection timing.
Winter Rain Periods: Corrosion at Electrical Connections
Burbank’s rain pattern is not evenly distributed. The city gets most of its annual precipitation in a handful of heavy events between December and March, with long dry stretches in between. That matters for gate electrical systems because corrosion is not a slow, continuous process here. It’s episodic. Connections sit dry for months, then get soaked in a single storm, then dry again. Each cycle leaves behind mineral deposits and oxidation at the connection points. After three or four wet seasons, low-voltage connections at photo-eyes, keypads, and limit switches develop enough resistance to cause intermittent faults.
The specific weak points we document most often in Burbank are the low-voltage wire splices at the photo-eye and the edge sensor connections. These are usually made with wire nuts or crimp connectors tucked behind the gate post or under a junction box lid. When they get wet, the copper oxidizes, resistance climbs, and the control board starts seeing fault signals that look like an obstruction. The gate opens halfway and reverses, or it refuses to close, or it beeps without moving. The homeowner replaces the photo-eye, thinking the sensor is bad, when the actual problem is a corroded splice six inches upstream.
Sealed connectors and dielectric grease are the fix, but the key is catching the corrosion before it becomes a no-close fault. After any significant rain event in Burbank, a quick check of your gate’s behavior is worthwhile. If the gate reverses more than once when closing, or if the keypad responds slowly, or if the green light on the photo-eye flickers instead of holding steady, those are corrosion symptoms. They will not improve as things dry out. They will get worse with each additional rain cycle.
Spring Inspection Sequence: Limit-Switch Drift from Thermal Expansion
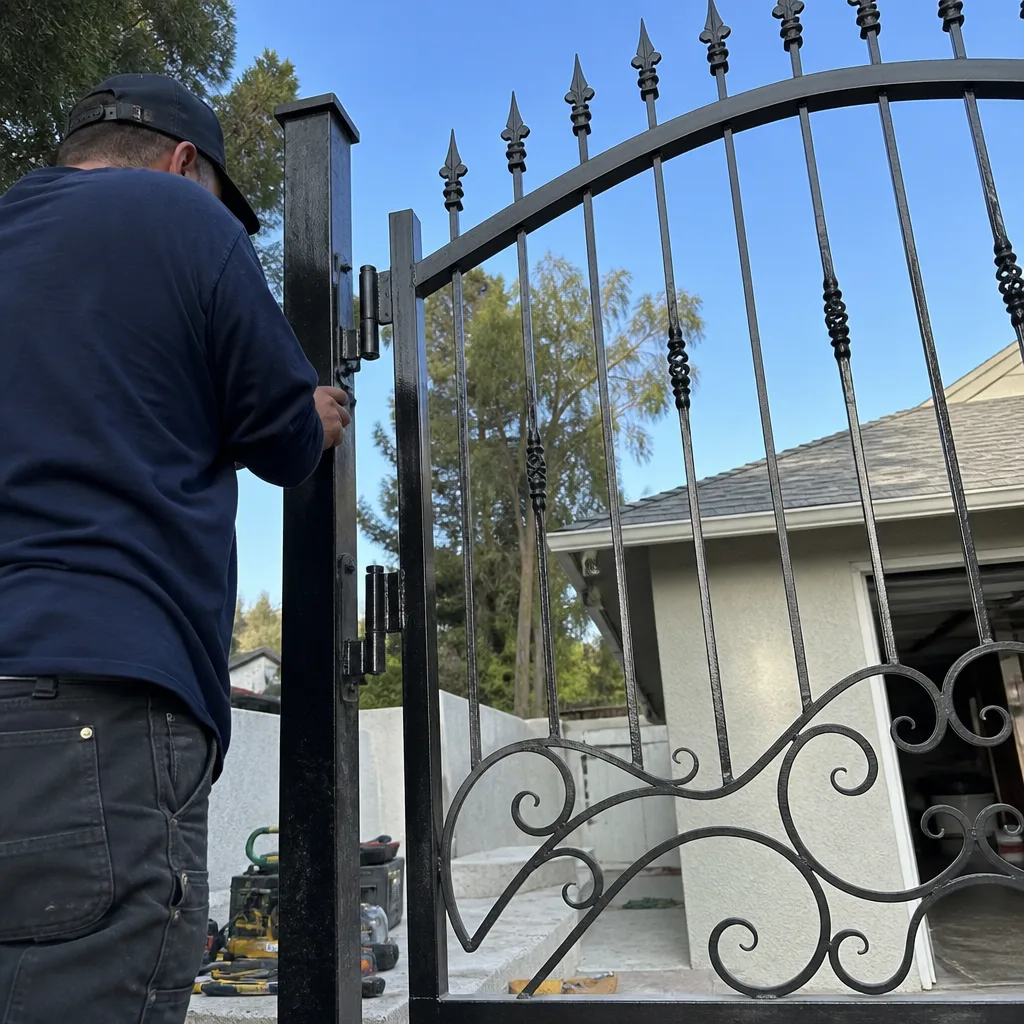
Spring in Burbank is when the accumulated thermal stress of the previous summer and the moisture stress of winter show up together. The most common finding in March and April inspections is limit-switch drift. Limit switches tell the operator where the gate should stop in the open and closed positions. They are mechanical or magnetic sensors, and they are set precisely during installation. But gate leafs expand and contract with temperature, and over a full year of Burbank’s temperature swings, the gate’s physical travel path shifts slightly. The limit switch doesn’t move. The gate does. That’s the drift. The result is a gate that stops two inches short of fully closed, or slams hard against the close stop, or sits slightly open at the latch point.
Here is the spring inspection sequence we follow, in order:
- Open and close the gate three full cycles while watching the stop positions. Note whether the gate consistently reaches the same point each time or stops at slightly different positions on repeat cycles.
- Check the close-stop gap. With the gate fully closed, measure the gap between the gate leaf and the close stop. If it’s more than a quarter inch, the limit switch has drifted and needs re-setting.
- Listen at the operator housing while the gate runs. A grinding or straining sound toward the end of travel means the operator is pushing against a mechanical stop instead of stopping cleanly at the limit. That’s wasted motor load and accelerated wear.
- Inspect the hinge bolts and post anchors for movement. After wind season, check for visible gaps, loose nuts, or paint cracks around the bolt heads.
- Test the photo-eye and edge sensor. Block the beam with your hand while the gate closes. The gate should stop and reverse immediately. If it doesn’t, the sensor is misaligned or the wiring has a fault.
- Document everything with photos. This is where the annual log comes in, and it’s covered in the next section.
Limit-switch re-setting is a precise adjustment. On a LiftMaster operator, the limit controls are typically on the circuit board or a separate limit module, and the adjustment is made in small increments. On a Mighty Mule swing operator, the limit is set with magnetic stops on the actuator arm. We photograph the limit position before and after adjustment so the record shows what changed. If you’re doing this yourself, work in quarter-inch increments and re-test the full cycle after each change. A limit set too far causes hard slamming; a limit set too short leaves a gap that defeats the purpose of the gate.
Building a Four-Entry Annual Log with Consistent Photo Positions
The single most useful thing a Burbank homeowner can do for gate maintenance is build a photo log with four entries per year, each taken from the same fixed positions. The value comes from consistency. A photo of a hinge from a different angle each time tells you nothing. A photo from the same position, showing the same hinge, taken in March and again in November, makes drift and wear visible. The record becomes evidence, not memory.
The four entries should align with the stress periods, not calendar quarters. Take photos in late August or early September after the worst heat. Take another set after the first strong Santa Ana event, usually in October or November. Take a third set after the heaviest rain period, typically February. Take the fourth set in April as part of the spring inspection. Four entries per year, same positions, same camera distance and angle.
Here are the positions to photograph:
- Both hinge assemblies, close up. Stand three feet back, camera level with the hinge. Capture the full hinge leaf, the bolts, and the weld points. This shows play, cracks, and corrosion over time.
- The post base plate and anchor bolts. Get close enough to see the gap between the plate and the concrete. A photo from this position shows post lean and anchor loosening.
- The gate leaf in the fully closed position, from the latch side. This shows the close-stop gap and any sag in the gate leaf. Sag is the early sign of hinge wear and post movement.
- The operator housing with the cover removed, if access is safe. Photograph the control board, the capacitor area, and the limit switch assembly. This is the photo that will show heat discoloration, fluid leaks, or corrosion before the operator quits.
- The full gate from twenty feet back, centered. This is the overview shot that documents the overall geometry. It looks unchanged season after season, and that’s the point. When it does change, you’ll see it immediately.
Store the photos in a folder labeled by year and position. When you call a gate repair service, those photos give the technician a baseline. They show what the gate looked like when it was working correctly. In our experience, a homeowner with a photo log resolves their gate issue in one visit more often than a homeowner working from memory. The record removes the guesswork.
What to Check on Your Gate Every Season
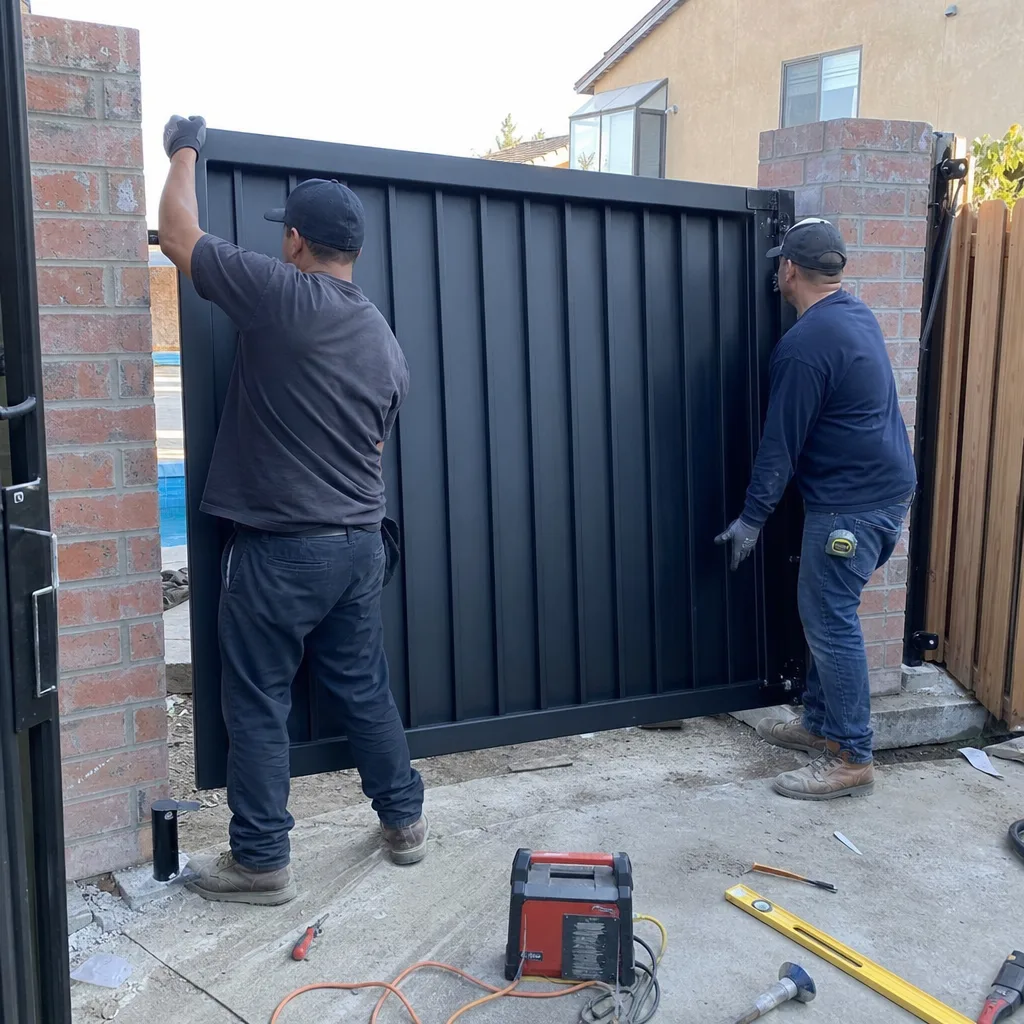
Different components fail in different seasons in Burbank, but a handful of checks apply year-round. Here is the complete list, organized by what you’re actually looking at.
Hinges and Posts
Check for visible play by pushing the gate leaf laterally with both hands. If it moves more than an eighth of an inch at the hinge, the hinge pin or bushing is worn. Check the post base plate for gaps between the plate and the concrete. Check the gate leaf for sag by measuring the height at the latch side and comparing it to the height at the hinge side. A quarter inch of sag means hinge wear. A half inch means structural investigation.
Operator and Motor
Listen for changes in sound. A smooth hum is normal. A grinding, clicking, or laboring sound is not. Check the operator housing for heat. On a hot Burbank afternoon, the housing will be warm, but it should not be too hot to hold your hand against. Excessive heat means the motor is working too hard, usually due to drag in the gate travel or a failing capacitor. Check for fluid leaks on hydraulic operators like Elite and FAAC units. Any oil staining on the operator or the ground beneath it means a seal has failed.
Electrical and Sensors
Test the photo-eye every season by blocking the beam during close travel. The gate should stop and reverse. Check the keypad and remote range. A keypad that needs multiple presses or a remote that only works at close range suggests low voltage or a failing receiver. Look at the wire connections inside the junction box after any rain event. Green or white corrosion on the copper is the early sign of a connection that will eventually cause intermittent faults.
Track and Rollers (Slide Gates Only)
For slide gates, inspect the track for debris and the rollers for movement. Run the gate and watch each roller. A roller that doesn’t spin or that wobbles as it turns is failing. Check the track for shiny wear marks that indicate the gate leaf is dragging on the track instead of riding cleanly on the rollers.
Most of these checks take ten minutes. The ones that don’t are the operator internals and the electrical connections, and those are the ones where a professional inspection with a written record is worth the call. You can find more detail on specific repair procedures in our Gate Repair in Burbank guide, which covers failure modes and repair pricing in depth.
Common Mistakes to Avoid
- Ignoring slow gate speed as a minor annoyance. A gate that opens slower than it did six months ago is telling you something specific. In Burbank summers, it’s usually capacitor degradation or hydraulic fluid breakdown. Ignoring it turns a $150 part replacement into a $700 operator swap.
- Lubricating hinges without cleaning them first. Spraying fresh grease onto a hinge packed with Burbank dust and grit creates a grinding paste that accelerates wear. Clean the hinge pin and bushing with solvent, then lubricate with a light machine oil or a dry graphite lubricant.
- Adjusting limit switches after a single bad cycle. A gate that stops in the wrong position once is not a limit-switch problem. It’s more likely a sensor fault or a power interruption. Adjusting the limits to compensate masks the real issue and creates a new problem on top of the old one.
- Skipping the photo-eye test because the gate “seems fine.” The photo-eye is a safety device. A misaligned or corroded photo-eye can fail in a way that allows the gate to close on a person or vehicle. Test it every season, and replace it if it doesn’t respond instantly. This is not a maintenance item where you wait for symptoms.
- Using household spray lubricants on operator internals. WD-40 and similar products are solvents, not long-term lubricants. They clean well and then evaporate, leaving parts dry. Inside a gate operator, that accelerates wear. Use the lubricant specified by the manufacturer, or leave internal lubrication to a professional.
- Assuming a new gate won’t need seasonal care. New gates fail in Burbank too, and they fail fast when the installation didn’t account for wind load or drainage. A new gate’s first year is exactly when the photo log matters most, because it establishes the baseline that every future inspection will be compared against.
- Replacing an operator before checking the electrical connections. We see this constantly. A homeowner replaces a $600 operator because the gate won’t close, and the actual problem is a corroded photo-eye splice that costs $85 to fix. Check the cheap stuff first, or hire someone who will.
When to Call a Professional
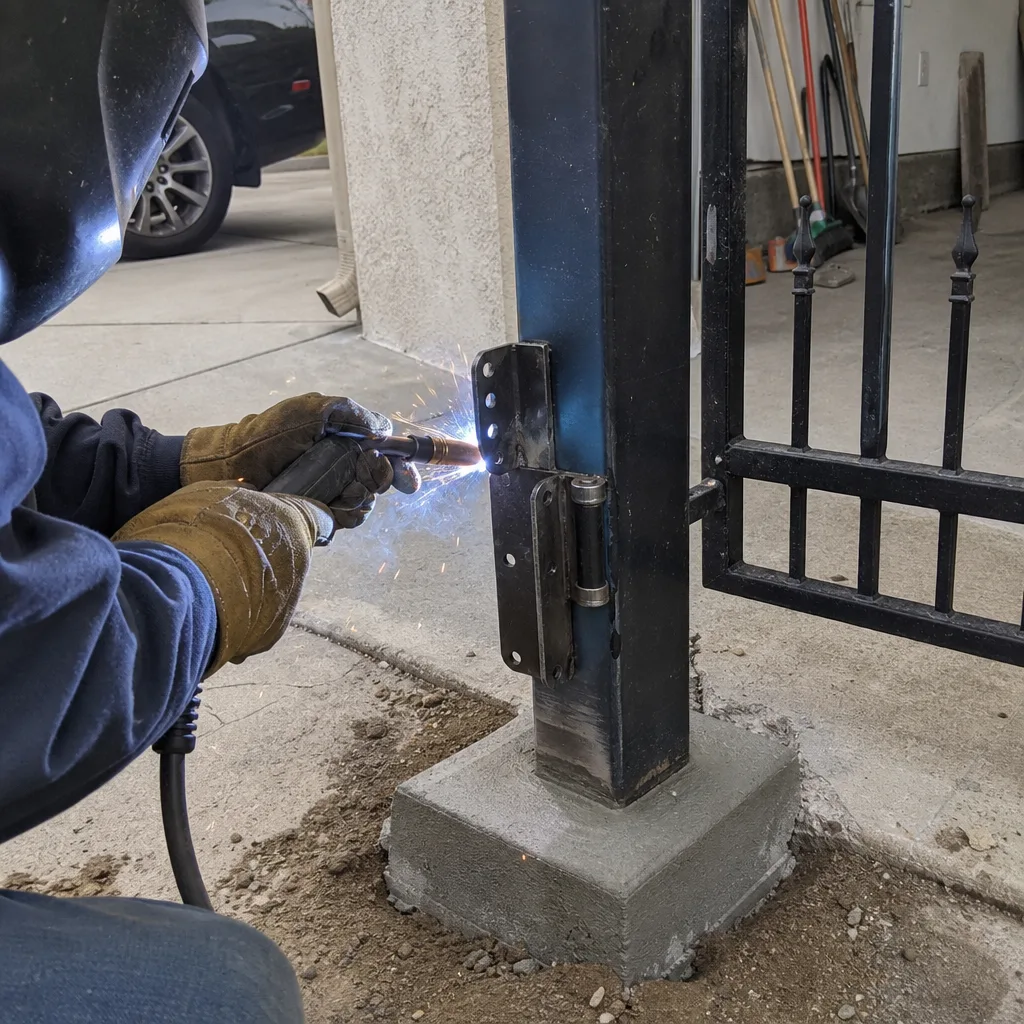
Call a professional when the gate stops moving at all, when you can hear the motor running but the gate doesn’t travel, when the gate reverses unpredictably during close travel, when you see visible damage to a hinge or post, or when you find fluid leaking from a hydraulic operator. These are failure signals with safety and security implications, and guessing at a fix can damage the operator beyond economical repair; see our more guides & resources for additional help. The high-tension components inside any gate operator can injure someone who opens the housing without knowing what they’re doing. If you’re not certain what’s inside the box, don’t open it.
For Burbank homeowners who want a written record, Vance Gate Repair Burbank home offers free estimates on all gate repair and maintenance work. Every visit includes a documented photo record of what was found, and the written price is delivered before any work begins. Call (213) 577-1120 and a live person answers, any hour.
Frequently Asked Questions
A seasonal gate inspection in Burbank typically runs between $89 and $189, depending on the gate type and the operator brand. That price covers the inspection, the limit-switch check, the sensor test, and a written record of findings. Any repairs identified during the inspection are priced separately in writing before any work starts. Call (213) 577-1120 for an exact quote on your gate, estimates are free.
Summer heat degrades the capacitor in electric gate operators and thins the hydraulic fluid in hydraulic units, both of which reduce motor performance. The gate runs slower because the motor is getting less starting energy or the hydraulic system is losing pressure. If you notice this pattern, get the operator checked before it becomes a no-start condition.
Yes, most common gate repairs, including capacitor replacement, limit-switch adjustment, photo-eye alignment, and hinge repair, are done the same day in Burbank. Call (213) 577-1120 and a live person will confirm same-day availability and provide a written price before the technician starts work.
Check for a visible gap between the post base plate and the concrete, lateral movement when you push the gate leaf side to side, or sag in the gate leaf measured at the latch side. Any of these three indicators means the post anchor or the post itself is compromised, and the fix is structural, not cosmetic.
A full gate installation in Burbank includes the gate leaf, hinges and post brackets, the operator and control board, the photo-eyes and edge sensors, the keypad or remote system, and all wiring and conduit. The written quote also specifies the power run, the concrete work if needed, and any permits required by the City of Burbank. For more detail, see our Gate Installation in Burbank guide. Call (213) 577-1120 for a free measure and a written price.
Yes, power runs from the nearest circuit to the gate operator and installation of safety edge sensors are included in our full installation and major repair scopes. The power run is priced in writing based on the distance and the required conduit, and the safety edges are tested to manufacturer specification before the job is closed. Every job ends with a photographed record of the completed work. For operator-specific questions, see our Gate Motor & Opener in Burbank page.
The Bottom Line
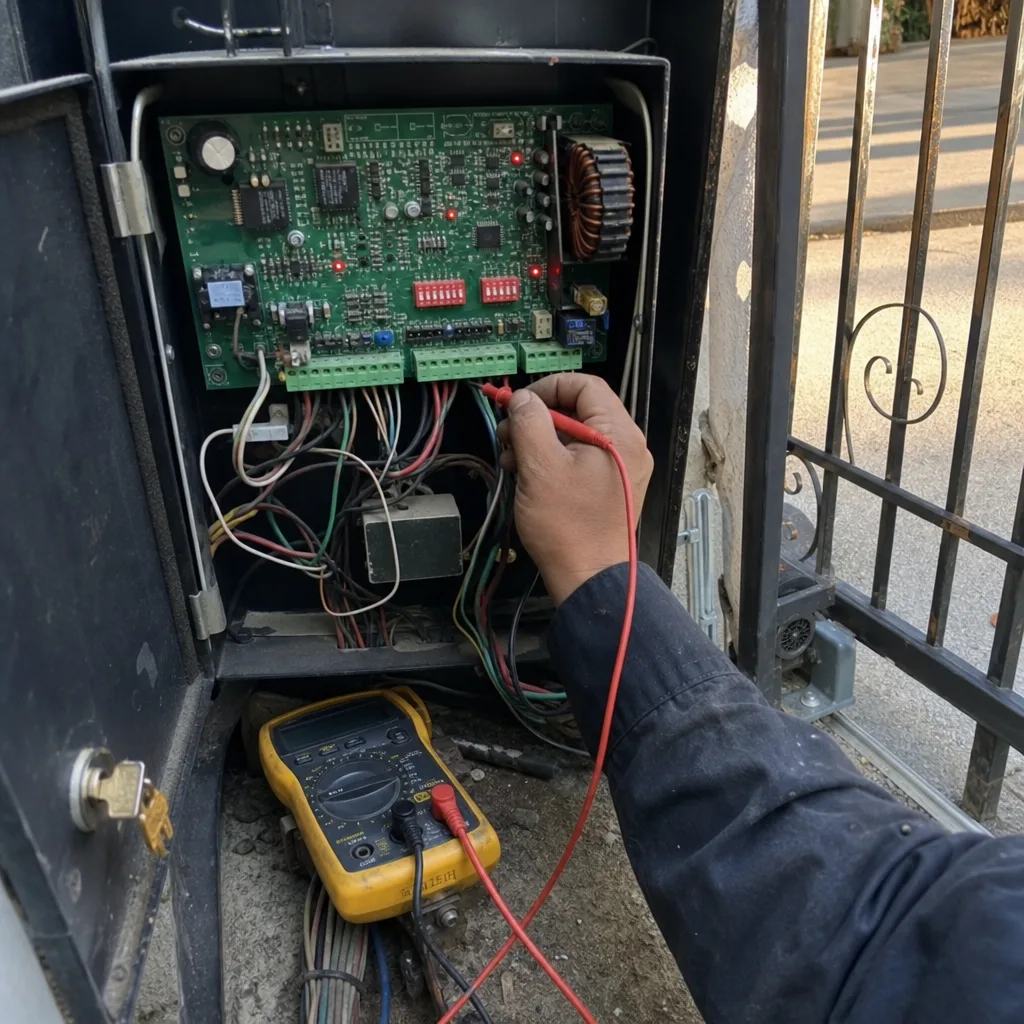
Burbank’s gate hardware faces four distinct stress periods each year, and each one attacks a different component. Summer heat kills capacitors and hydraulic fluid. Santa Ana winds twist hinges and loosen post anchors. Winter rain corrodes electrical connections that sat dry for months. Spring is when thermal expansion drift finally shows up at the limit switches. A homeowner who checks the right component at the right time, and keeps a four-entry photo log from consistent positions, will catch most failures before they become emergencies. A homeowner who waits for the gate to stop moving will pay more, and the diagnosis will be harder without a record. The pattern is knowable, the inspections are simple, and the written record makes every future repair faster and cheaper. If you’d rather hand the whole thing to someone who does this work every day, Gate Repair in Burbank is one call away.
Written by Adrian Vance, Owner at Vance Gate Repair Burbank, serving Burbank since 2014.